Occasional audiophilia: Woodworking and DACCA
I've always had an affinity for sound: Whether making, evaluating, avoiding, enjoying, or selling it. Every couple years I get a little antsy and do a sound-related project.
This time around I built a pair of desktop speakers, set up and named a raspberry pi as a usb UAC2 gadget with a device name "DACCA", wrote a dynamic kernel module, and extended DSP sotware. It went a little further than usual.
Building speakers
It's kind of a zen, methodical experience. I've been making speaker cabinets once in a while for 20, maybe 25 years. To be clear, that is not a claim of proficiency, just an acknowledgement that I like doing it occasionally and that this is not my first time around.
What came before (I didn't make these)
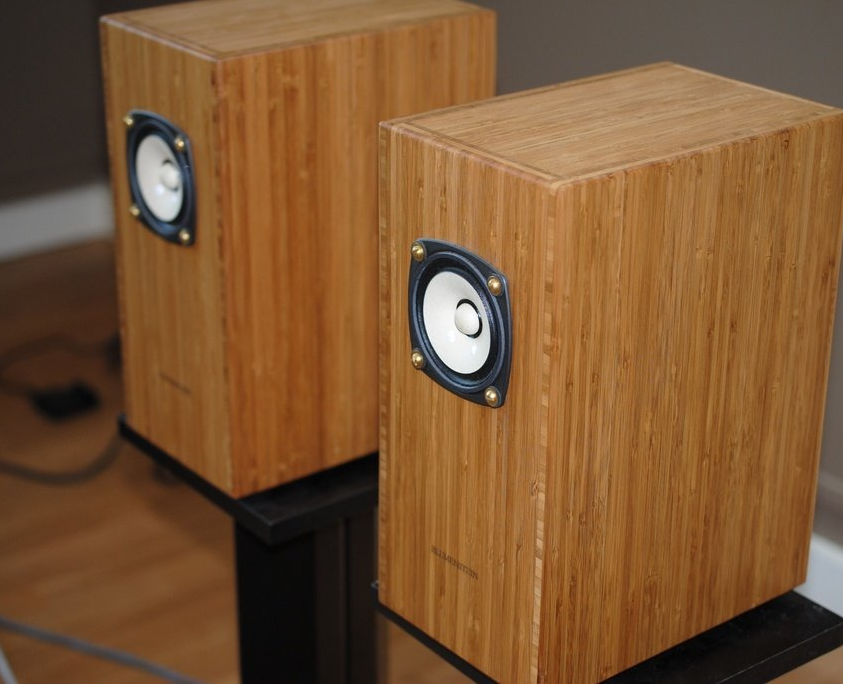 This is what I was using before, not what I made. I got a pair of Blumenstein Orcas around 2013 from Clark and Molly in their old west Seattle studio. We had a lovely time. I still adore these speakers. They have adorned my desk for a long time, and I'm not used to the new scenery yet!
As little 3" fullranges, you might well imagine they miss something on the bottom end. You wouldn't be wrong to guess that, but you might be surprised how well they do. Here, let's see if you're surprised or not:
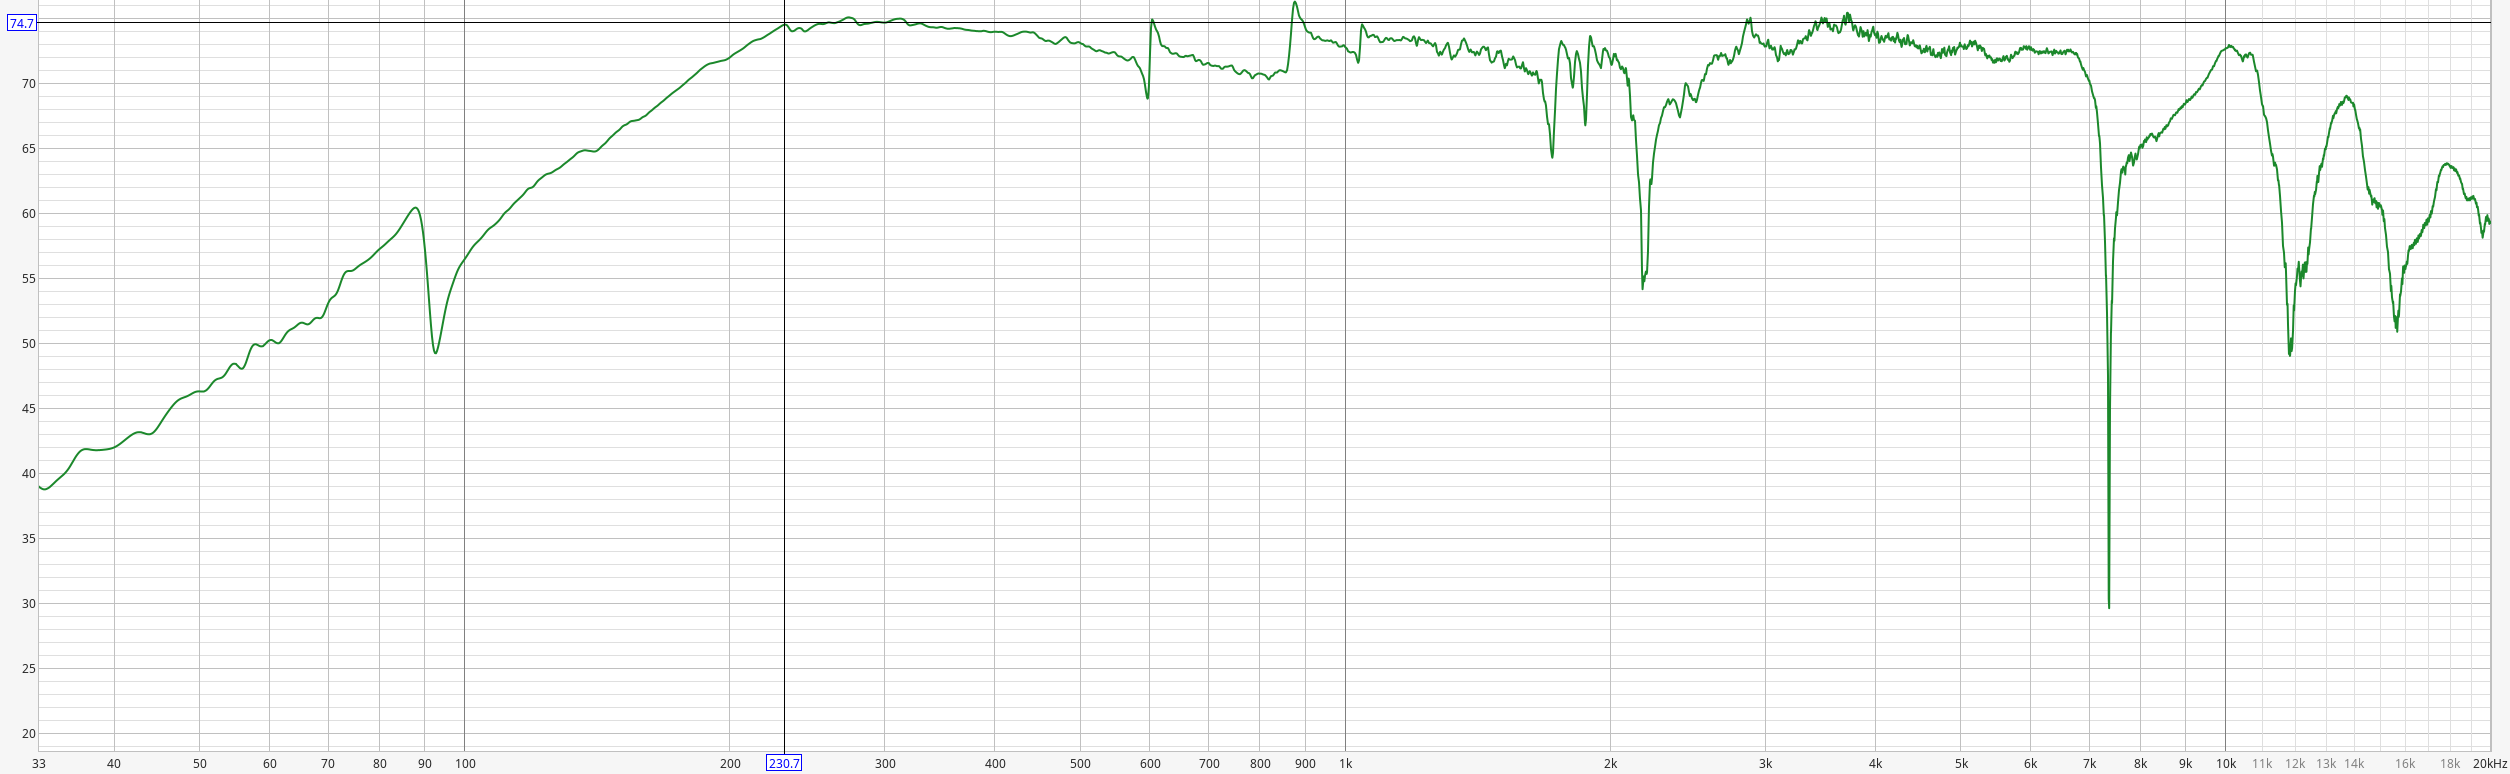
You can see the frequency rolloff starts at 230hz. If you want to hear 230hz to understand the bottom end of these speakers, play this: I'm going to withhold my project's result for now. Scroll on.
However you may feel about that, I found it overall pleasing for a long time. I've used subwoofers, but being sensitive to timing means the impulses annoy me. I like the coherence of single full range drivers for my near-field listening.
What I made
Here, I'll just show you. 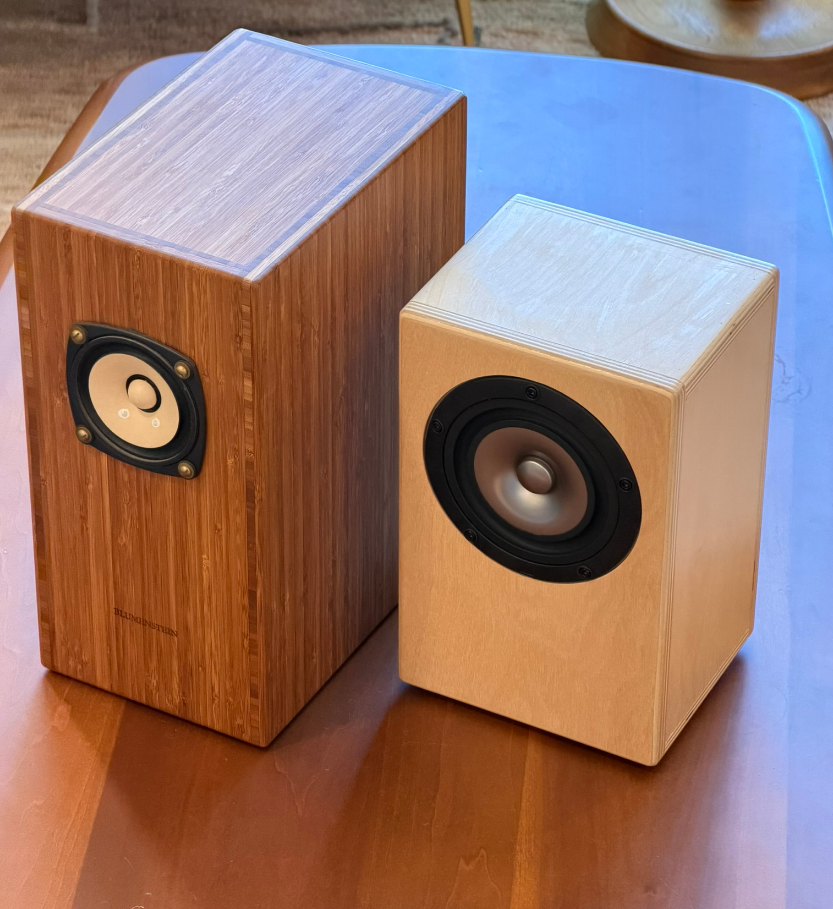
The project
Okay if you're here, you're just going to have to ride along for the details. Here we go...
The plan
I went into this with a few constraints for the speakers:
- Single full range driver per channel
- Smaller cabinets than Orcas
- Better bass extension, without sacrificing mids and highs
Cabinet
I settled on a 3 liter footprint after going through some options. It's large enough to matter as an enclosure, and it's much smaller than the Orcas.
Here's a model you can AR into your real space to get an idea about what size the speakers I made are.
In the past I've made great vented speakers. Carefully tuned T/S volume, stacked plywood vents with fat fillets inside and out, just gorgeous. I love the look and the sound. I don't think I'll ever use a plastic vent again. But that is not the kind of speaker I made here.
The constraints drove me in a different direction that was a lot more work in totality, if not in construction. I planned out a simple sealed 3 liter cabinet with a shelf brace. If you're a speaker cabinet maker and you've made it this far, consider sticking around even though this probably just got boring for you.
Speakers
The 3L size I wanted to stick with worked out well in terms of speaker selection. Quite a few 3 to 5 inch options would do okay in an enclosure of that size. I went looking for drivers with healthy excursion limits though, because of [3] and the next subsection...
"Thankfully," I could not find a source for the speakers I wanted, the Jordan Eikona 2's. If you have a way for me to get a pair, please let me know so I can make a new pair for these awesome drivers. 😃 I'll use prettier wood.
I agonized over the fallback driver, and ended up with the Mark Audio Alpair 7ms.
I've used Fostex (like the Orcas) and Mark Audio before, and have had good results with both in a well constructed box. The mono suspension seemed neat though. The 4.5mm one-way (!!!) excursion limit means these are able to move multiple times more air than some of the other options I was considering. That's going to be relevant soon.
Driving
I have 3 operating systems I ask my desktop audio to service: CachyOS, MacOS, and Windows. That makes fancy audio settings or whatever a pain. I had started to do corrections on MacOS and Windows, but keeping dsp settings in sync was just too much ongoing effort, and the volume was always too loud or too quiet when I switched between operating systems. I wanted to remove that annoyance.
There was a raspberry pi 4 laying around from an old project. I thought to use it as a DAC and collect all my audio settings there so it doesn't vary per host OS.
I found some DAC hat options, and fully planned out a system using moOde. It was interesting, but ultimately while I was playing with the UI and some of the configuration I wanted, it seemed like I was undoing much of what moOde offers.
So then I planned out a whole system on HiFiBerryOS Next-Gen. This is where much of the configuration pain came to a head around the dsp settings I wanted. While I could use a HiFiBerry dsp chip, it does not offer the transforms I was looking for.
Ultimately, I formatted the pi's sd card a third time, and implemented what I wanted more or less from scratch - Pi OS Lite. I also used the HiFiBerry Dac2 Pro.
Building the speakers
I used a 1/2" baltic birch (pre-Ukraine) plywood board I had laying around. The build was straightforward enough. But I wanted to do a good job, so I made a tool.
Making circles
| There are lots of ways to make circles, but I wanted to make nice circles without buying anything extra. So I referenced someone else's design and designed a jig for my router that would let me make perfect circles. | 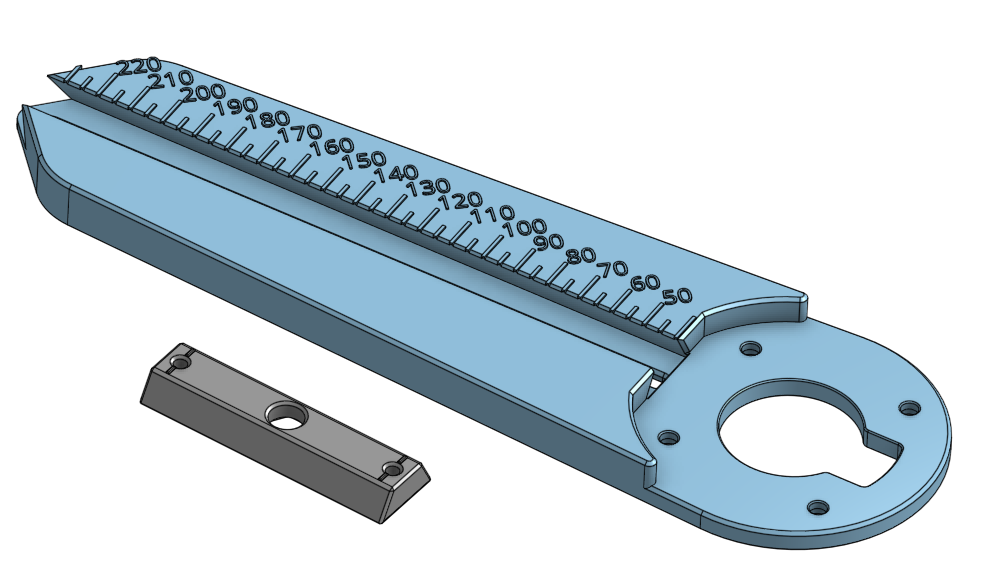 |
| I went through several revisions and had to fix 3 issues with my 3d printer, but ultimately it worked great. | 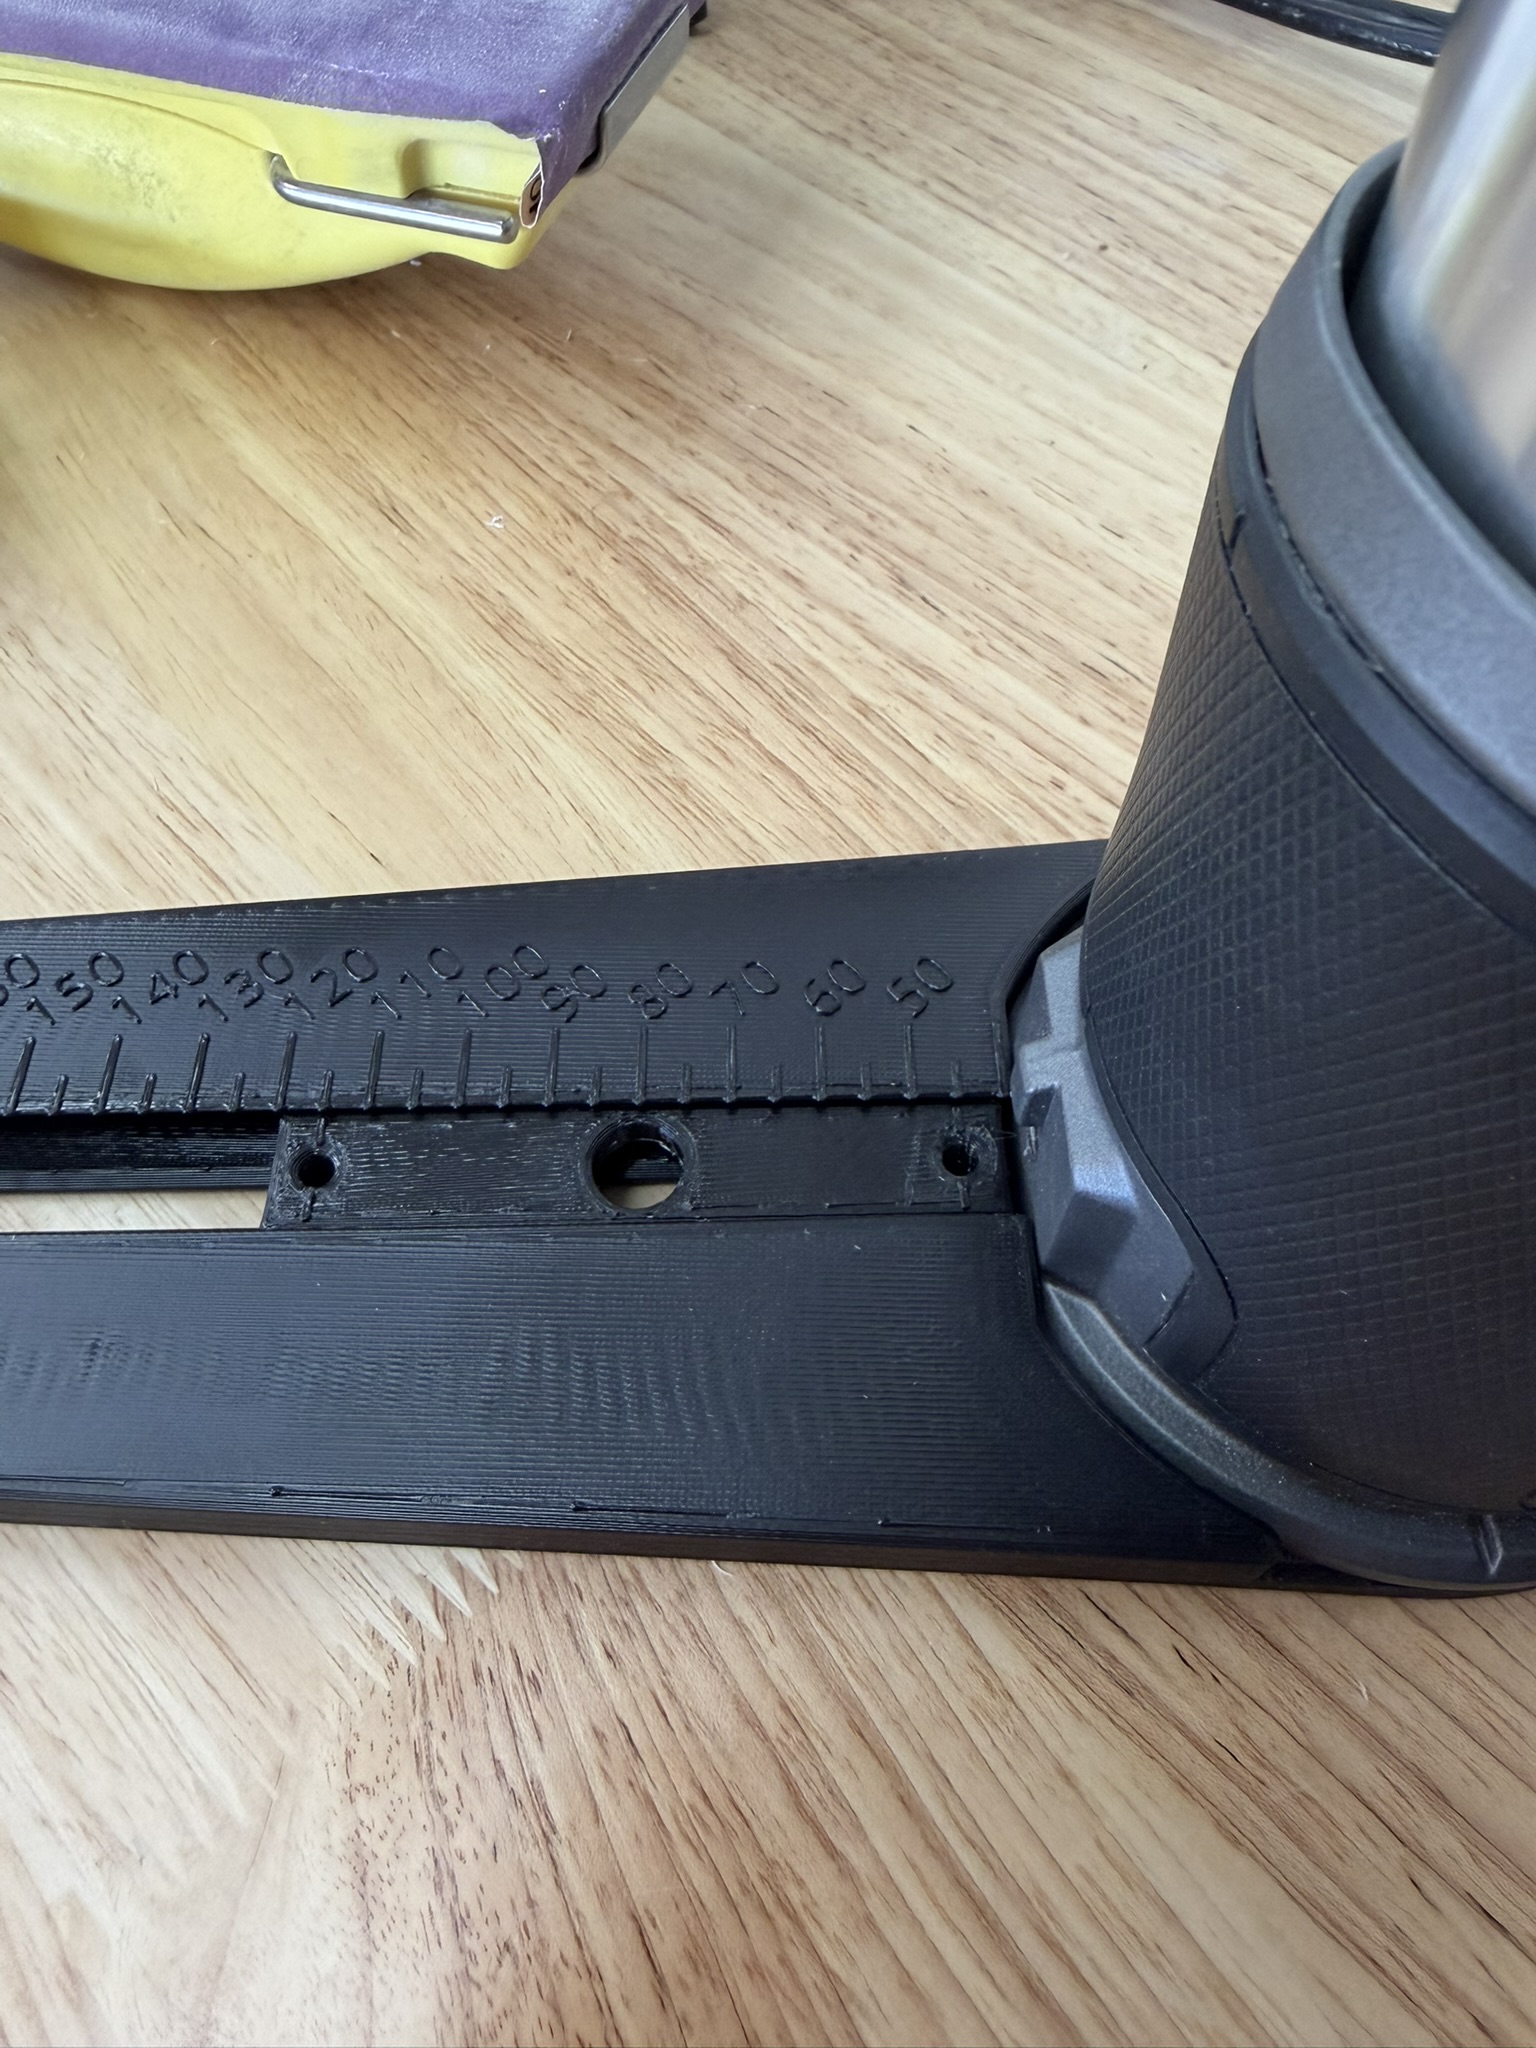 |
| Cutting the circles went well first try. It wasn't perfect, but it was close. | 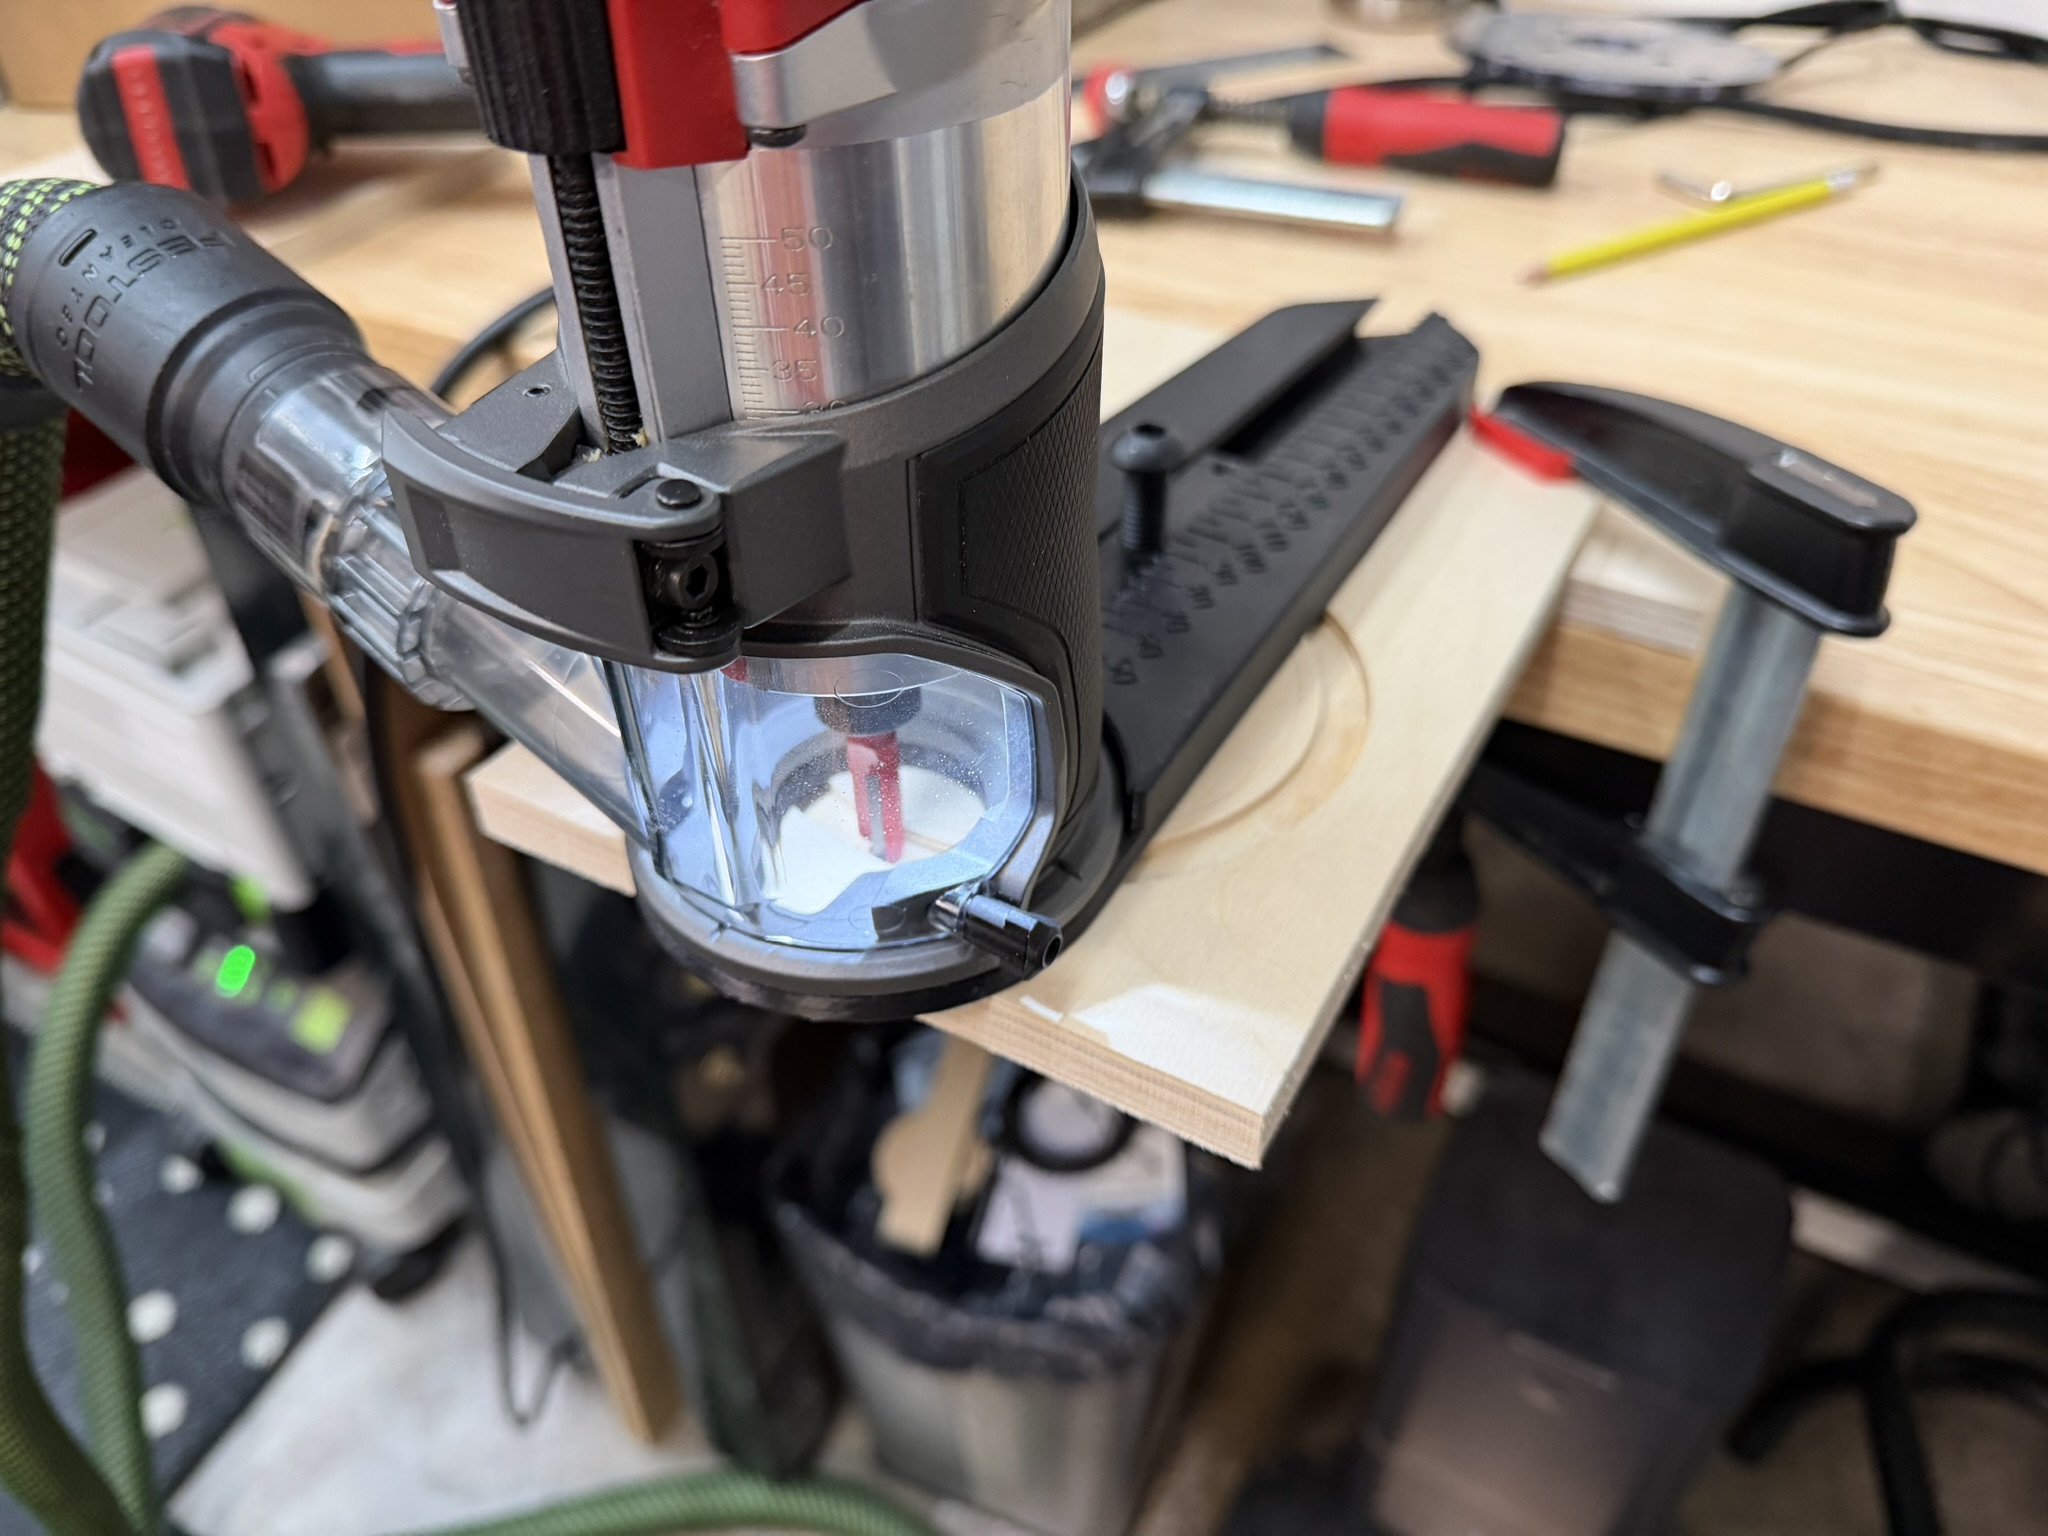 |
| Here you can see how the 2 concentric cuts were made with the jig. | 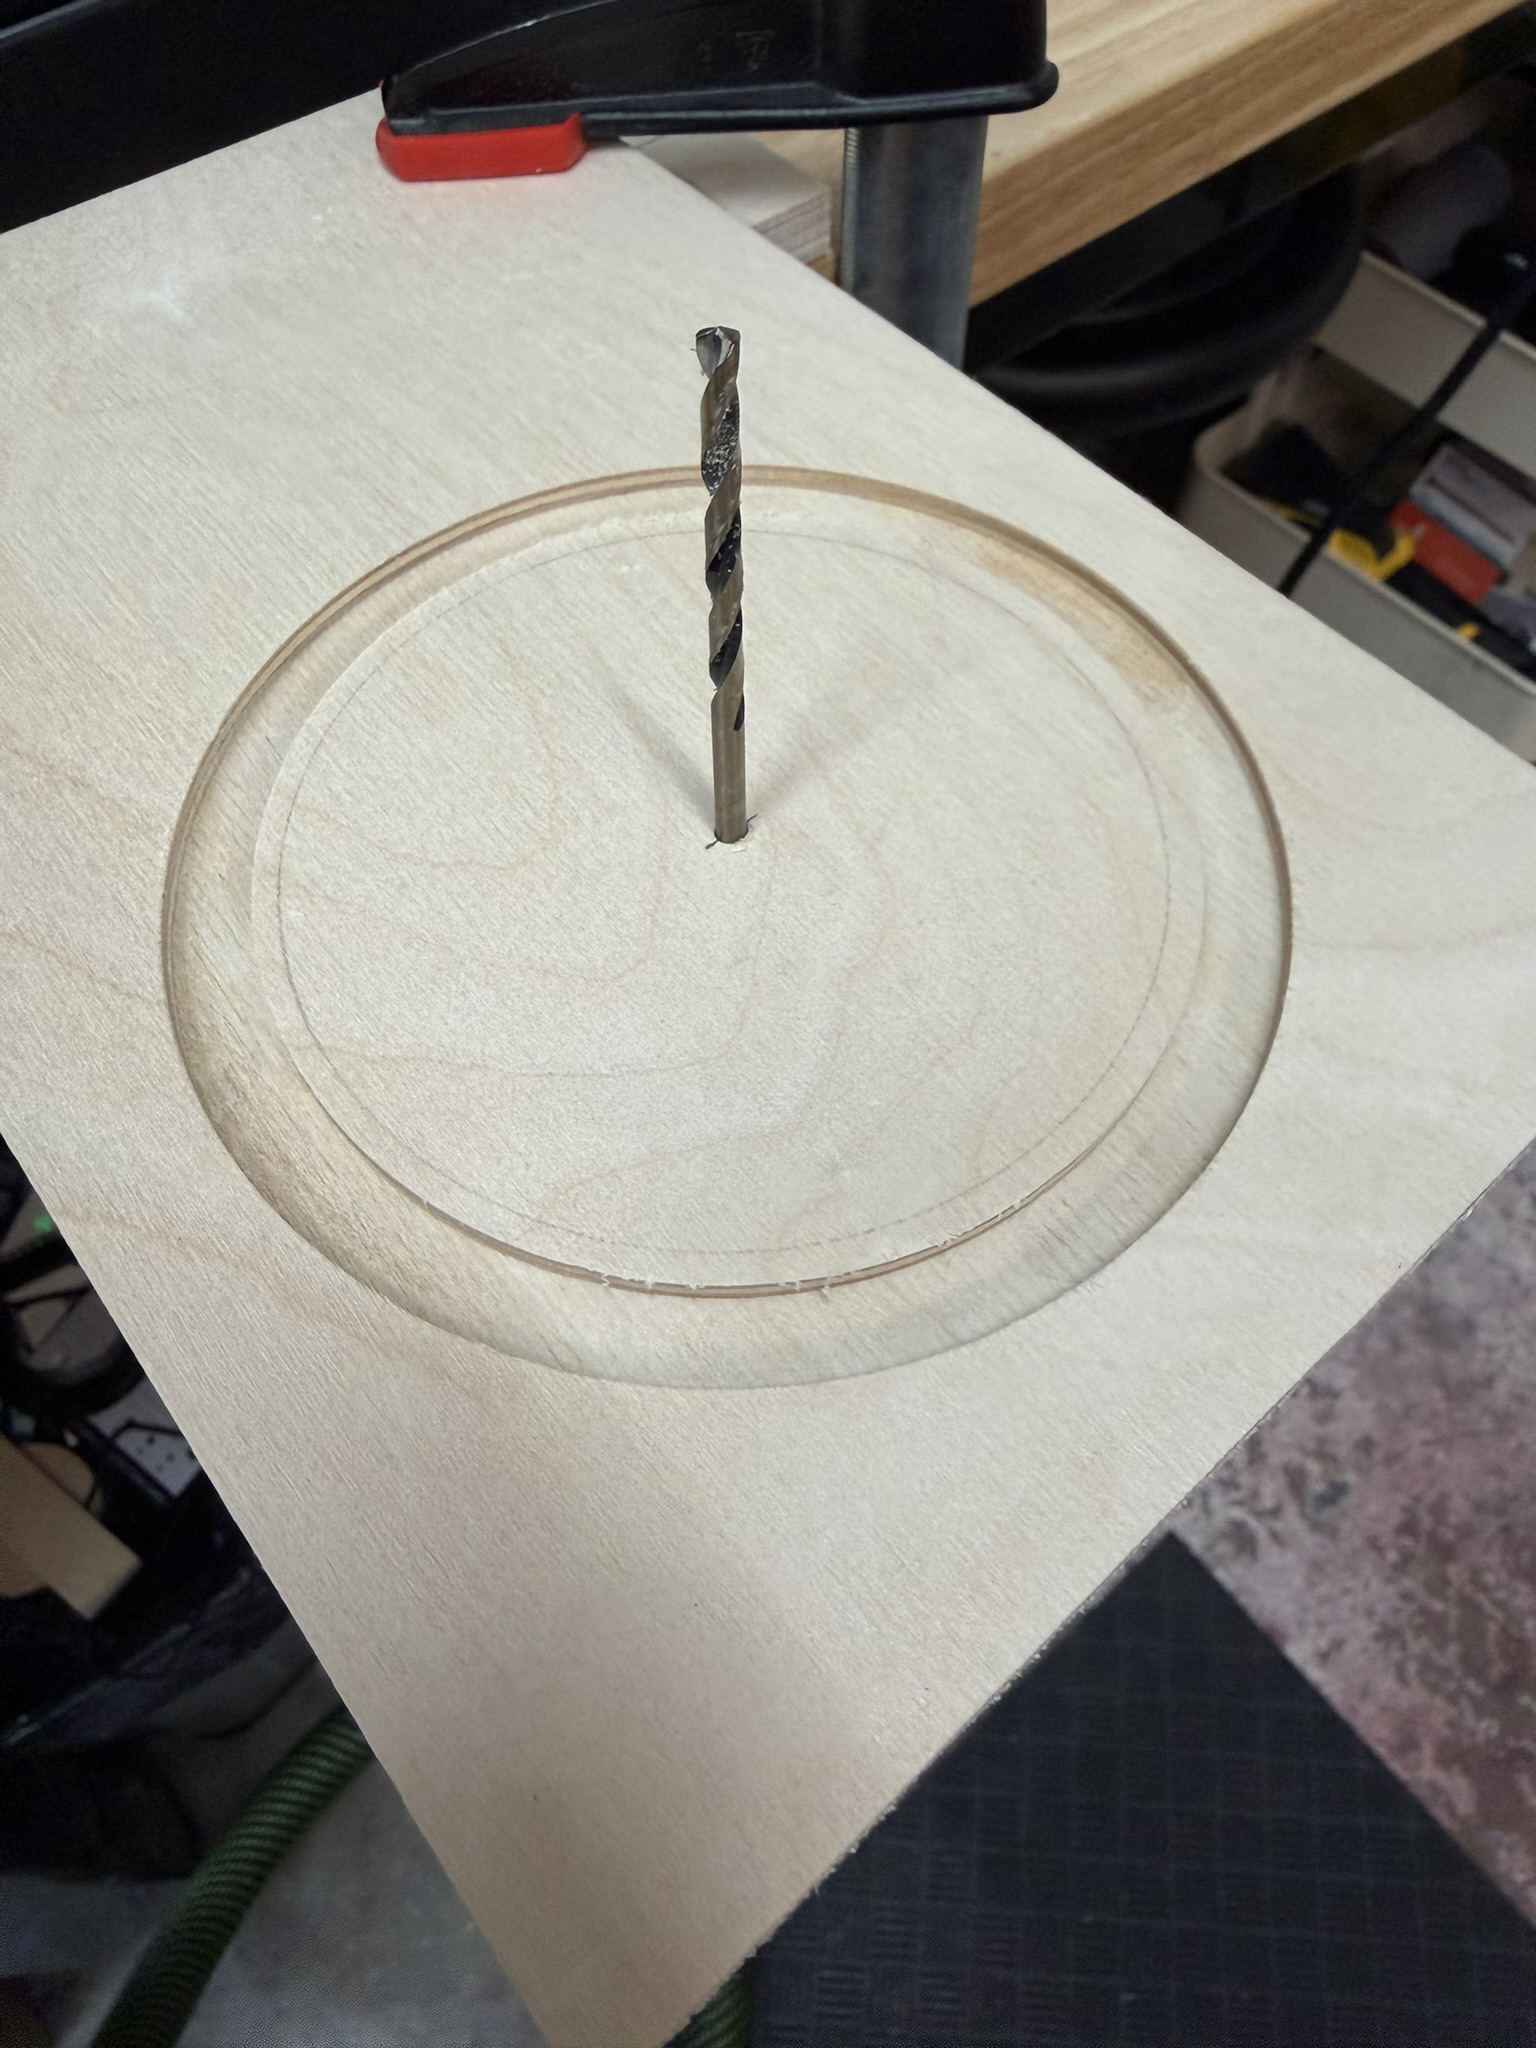 |
| I did better on the second one, but here's the through cut with the recess for the speaker. | 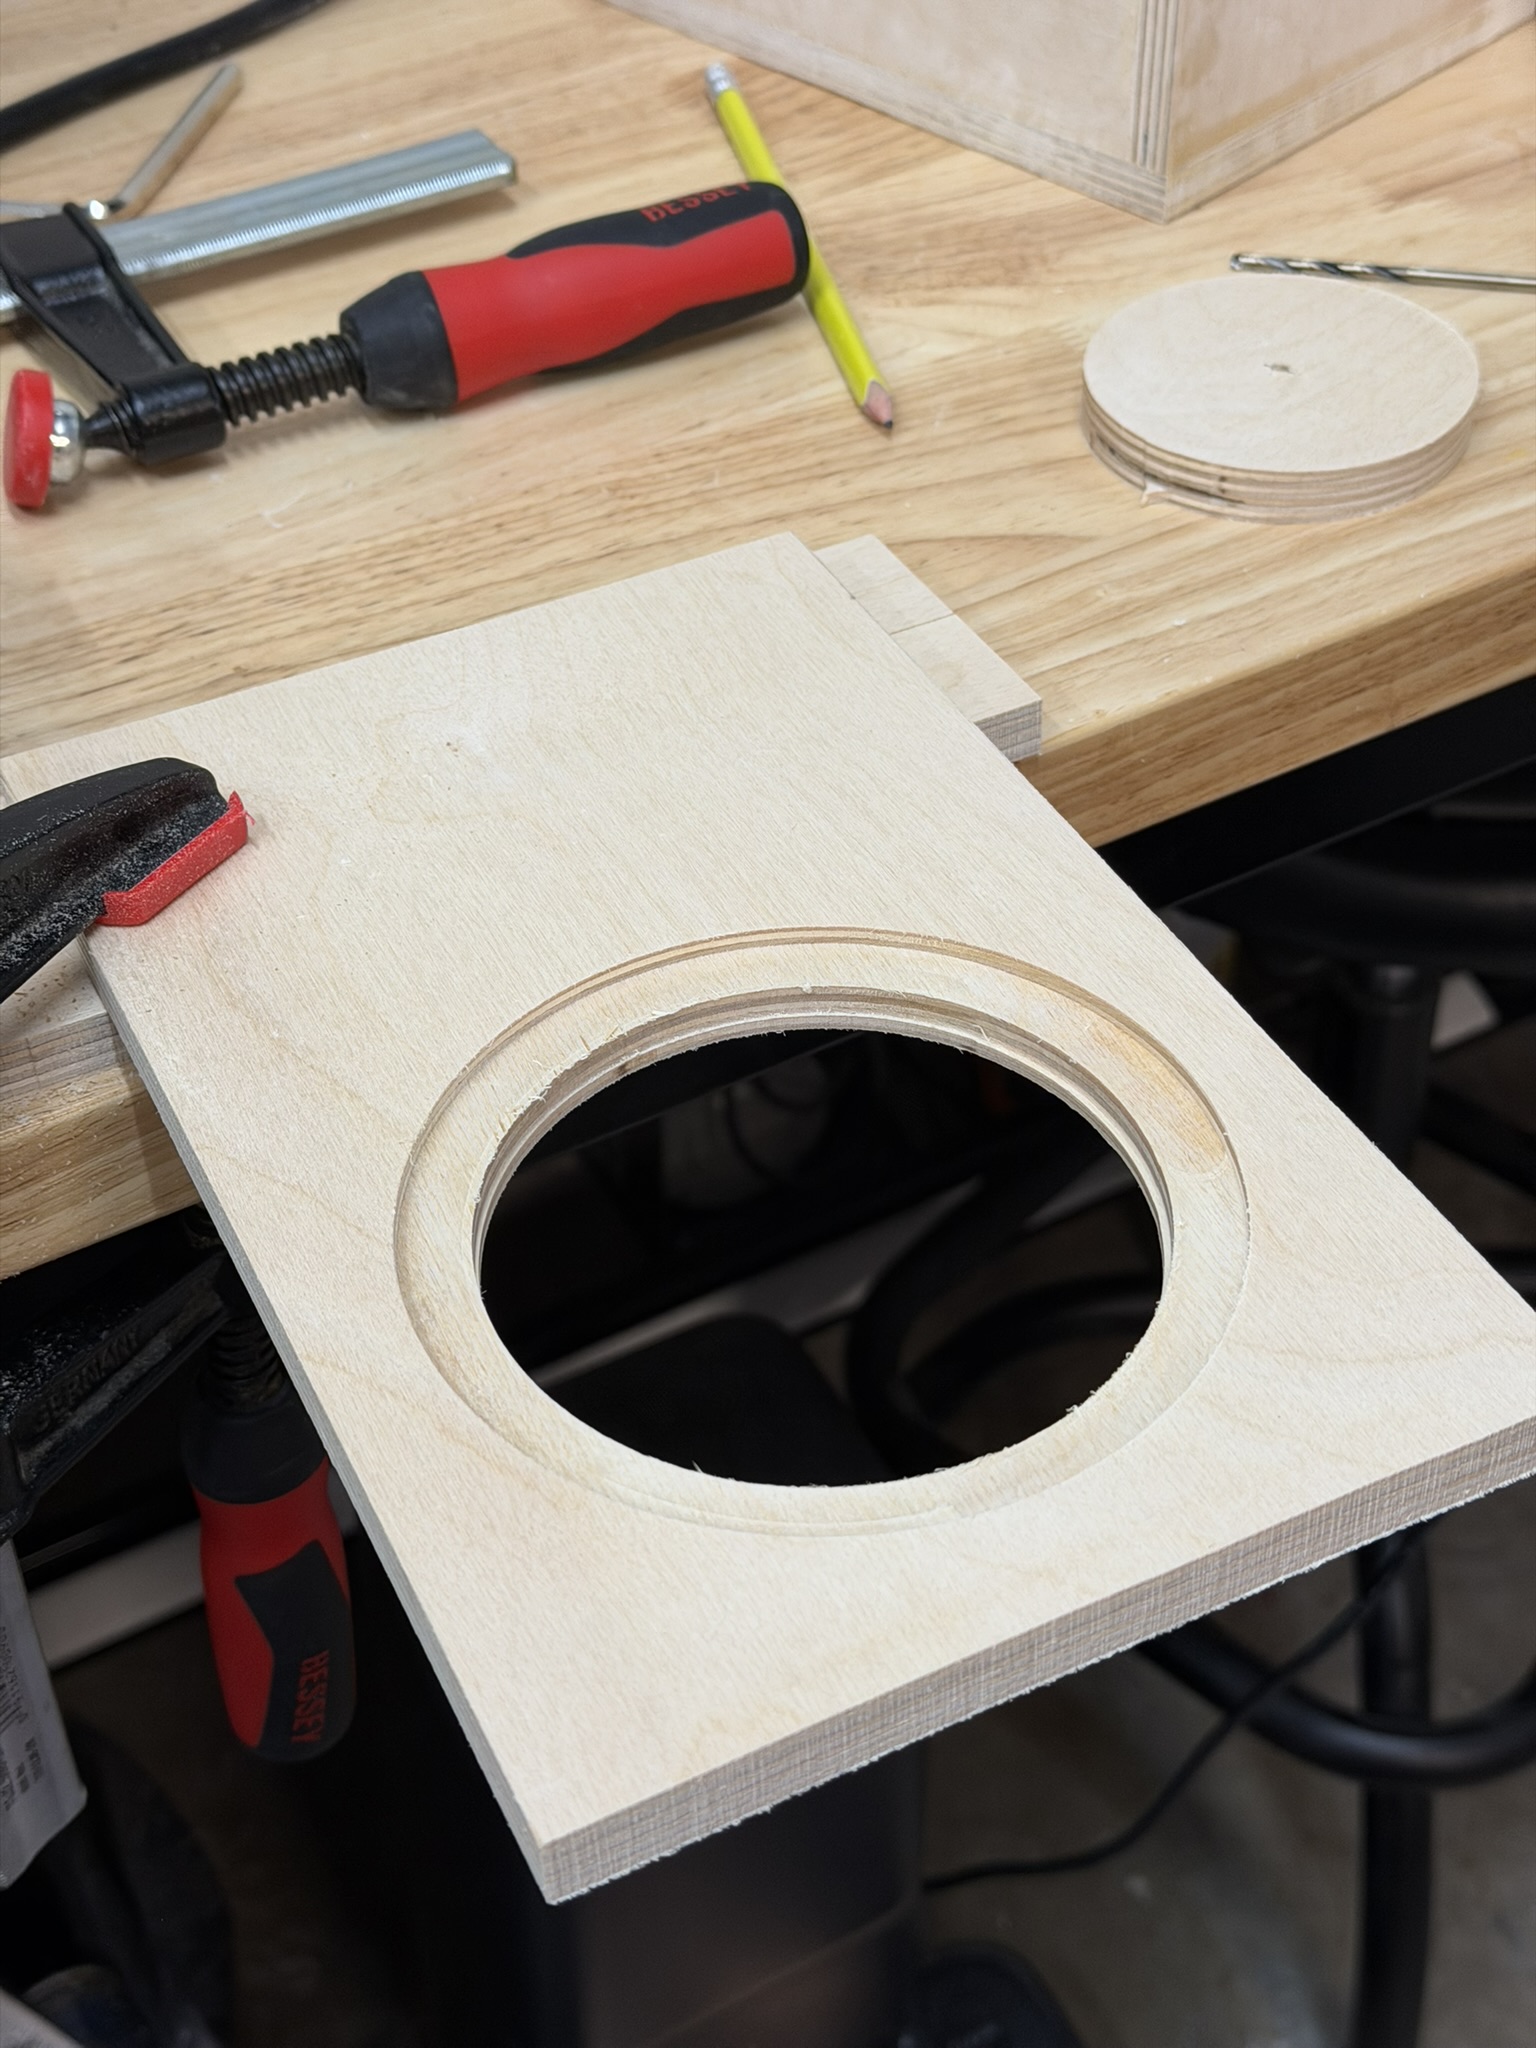 |
| And finally, here's the test fit to validate the cuts, or if I'd have to make a new front panel. | 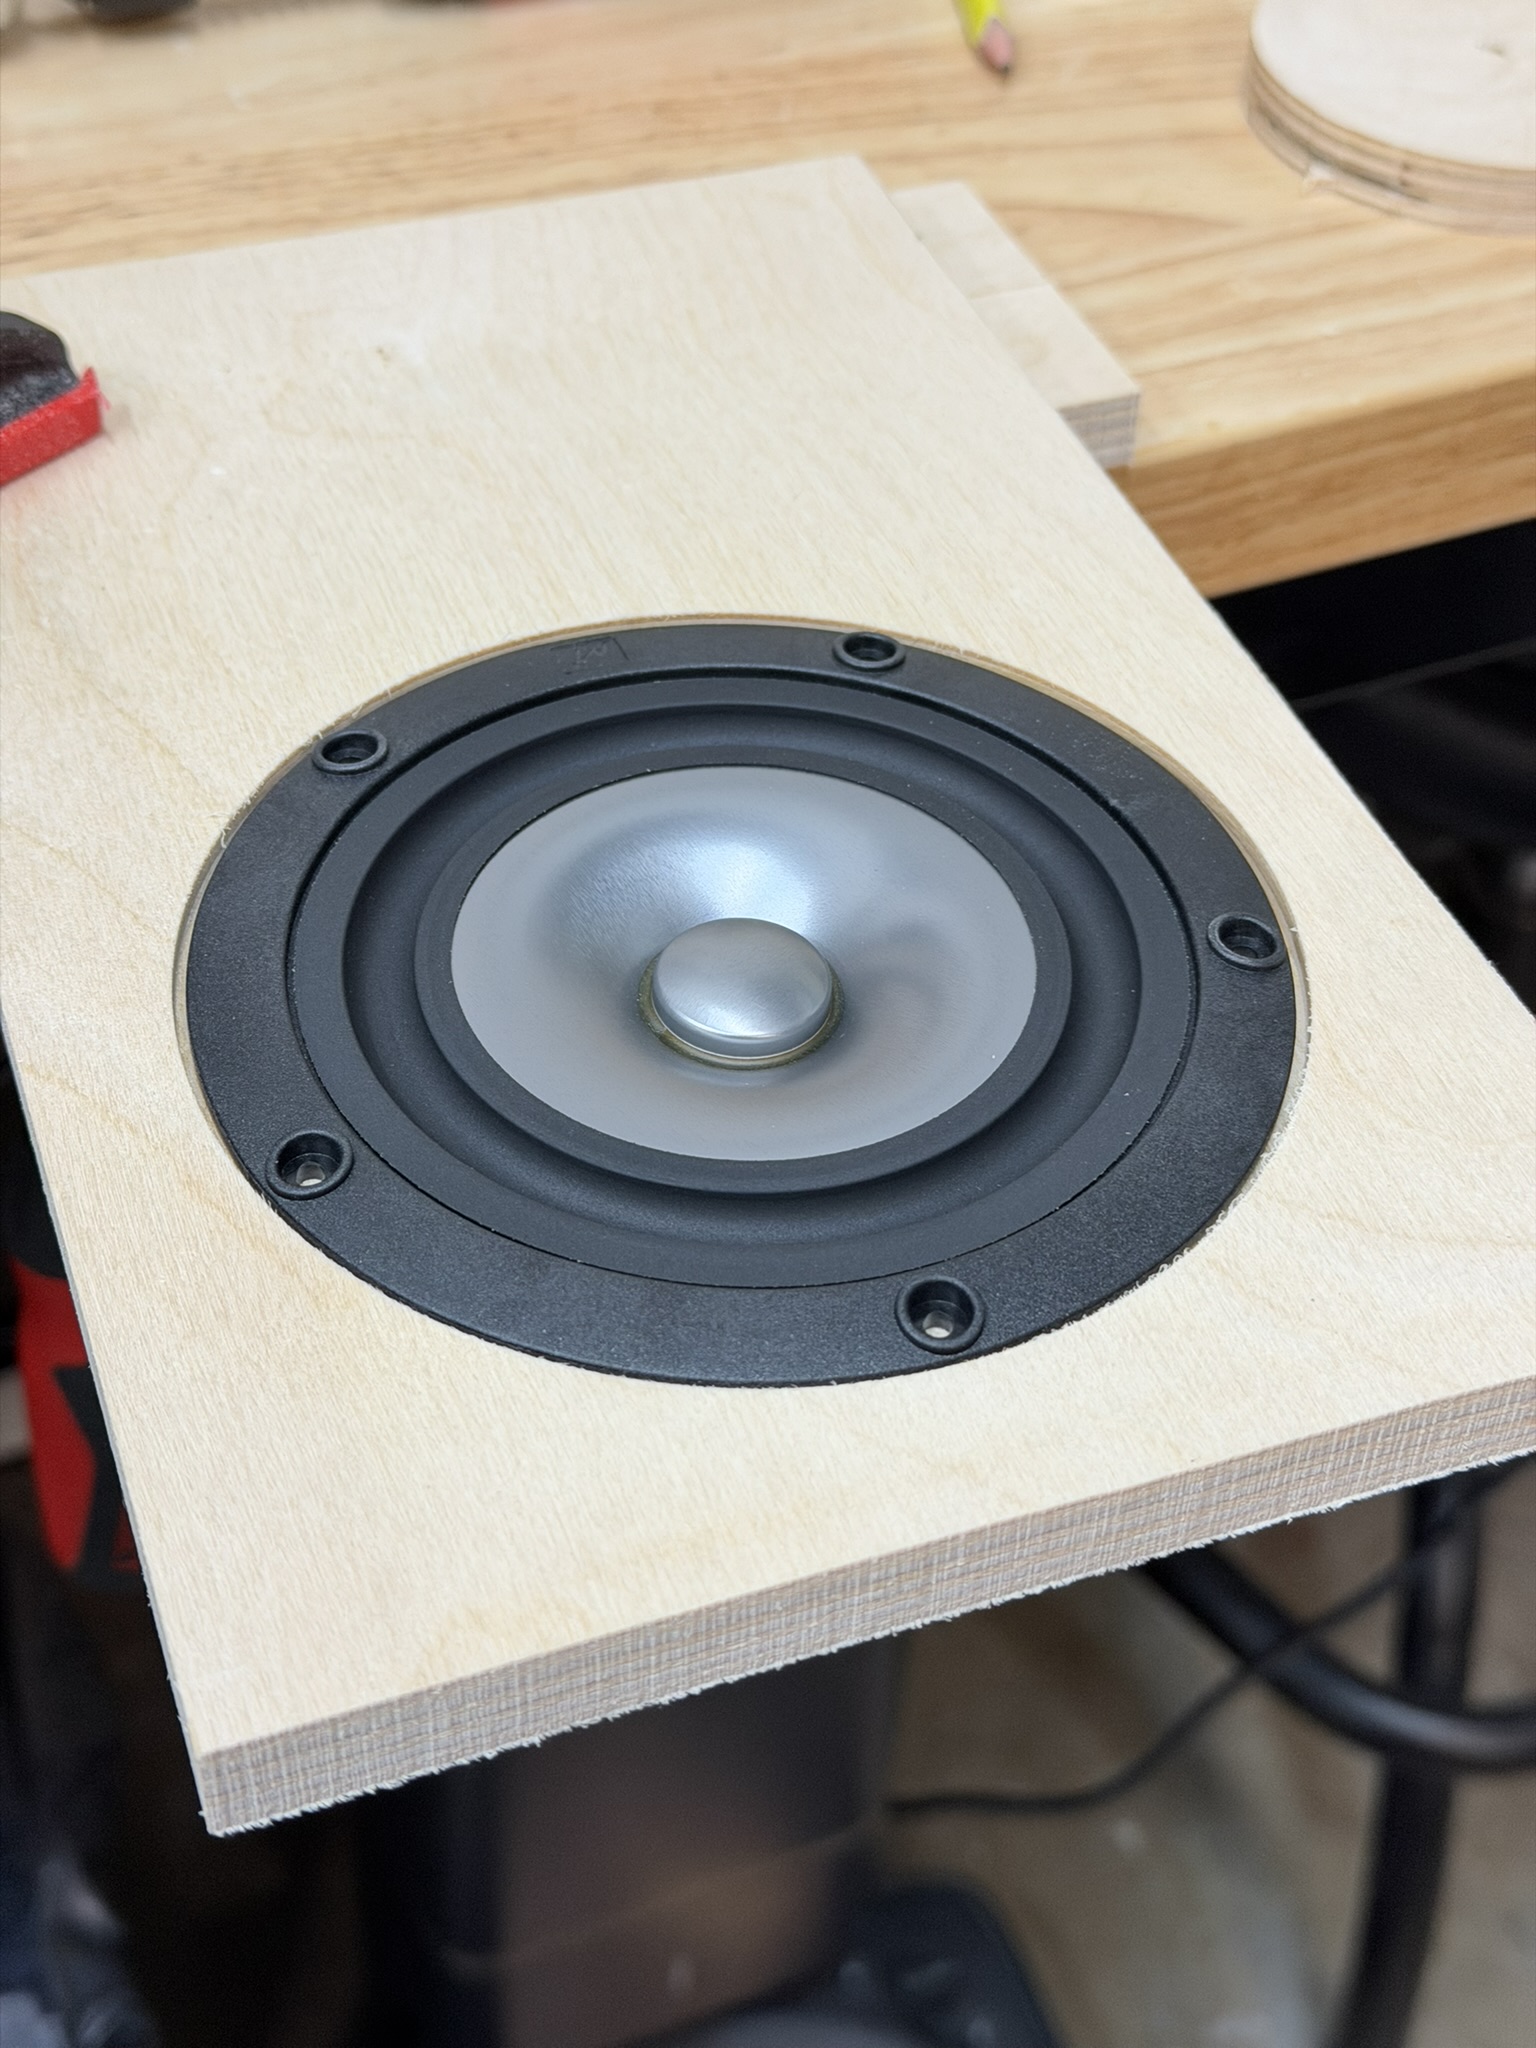 |
Making the cabinet
| It started out well. I cut out all the panels, and glued them together except for the face. That process isn't very interesting so I'll spare you. | 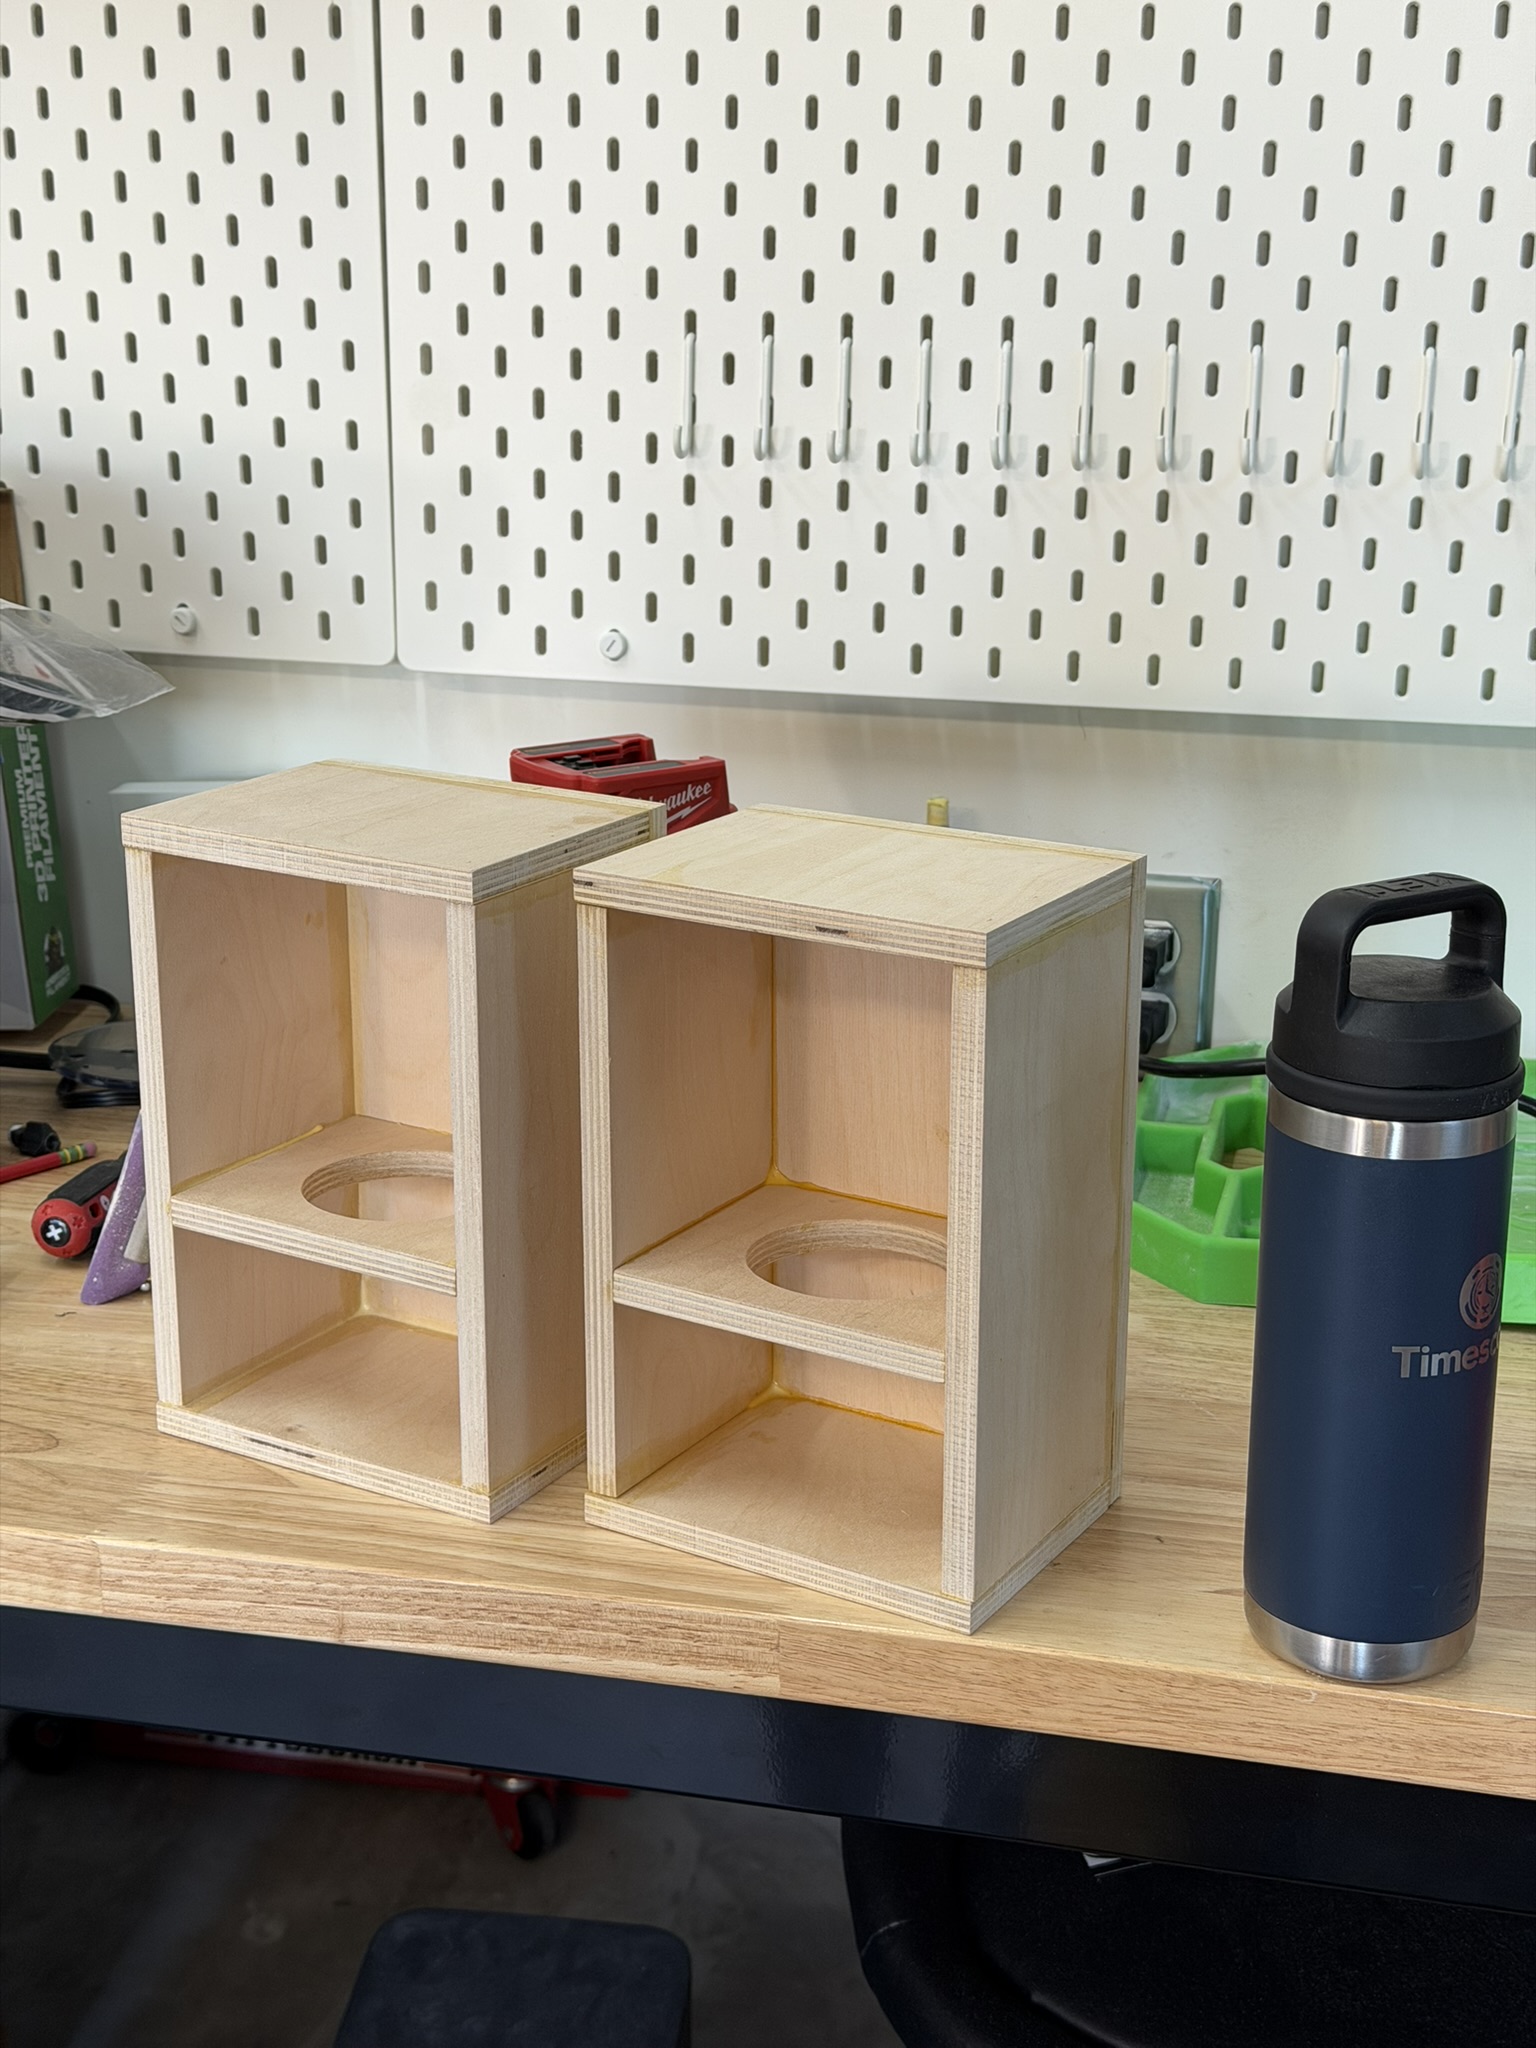 |
| My cuts weren't perfect; I don't have fancy tools for making perfect sheet cuts, so I had misaligned edges on the front of my cabinets where the face was to glue on. | 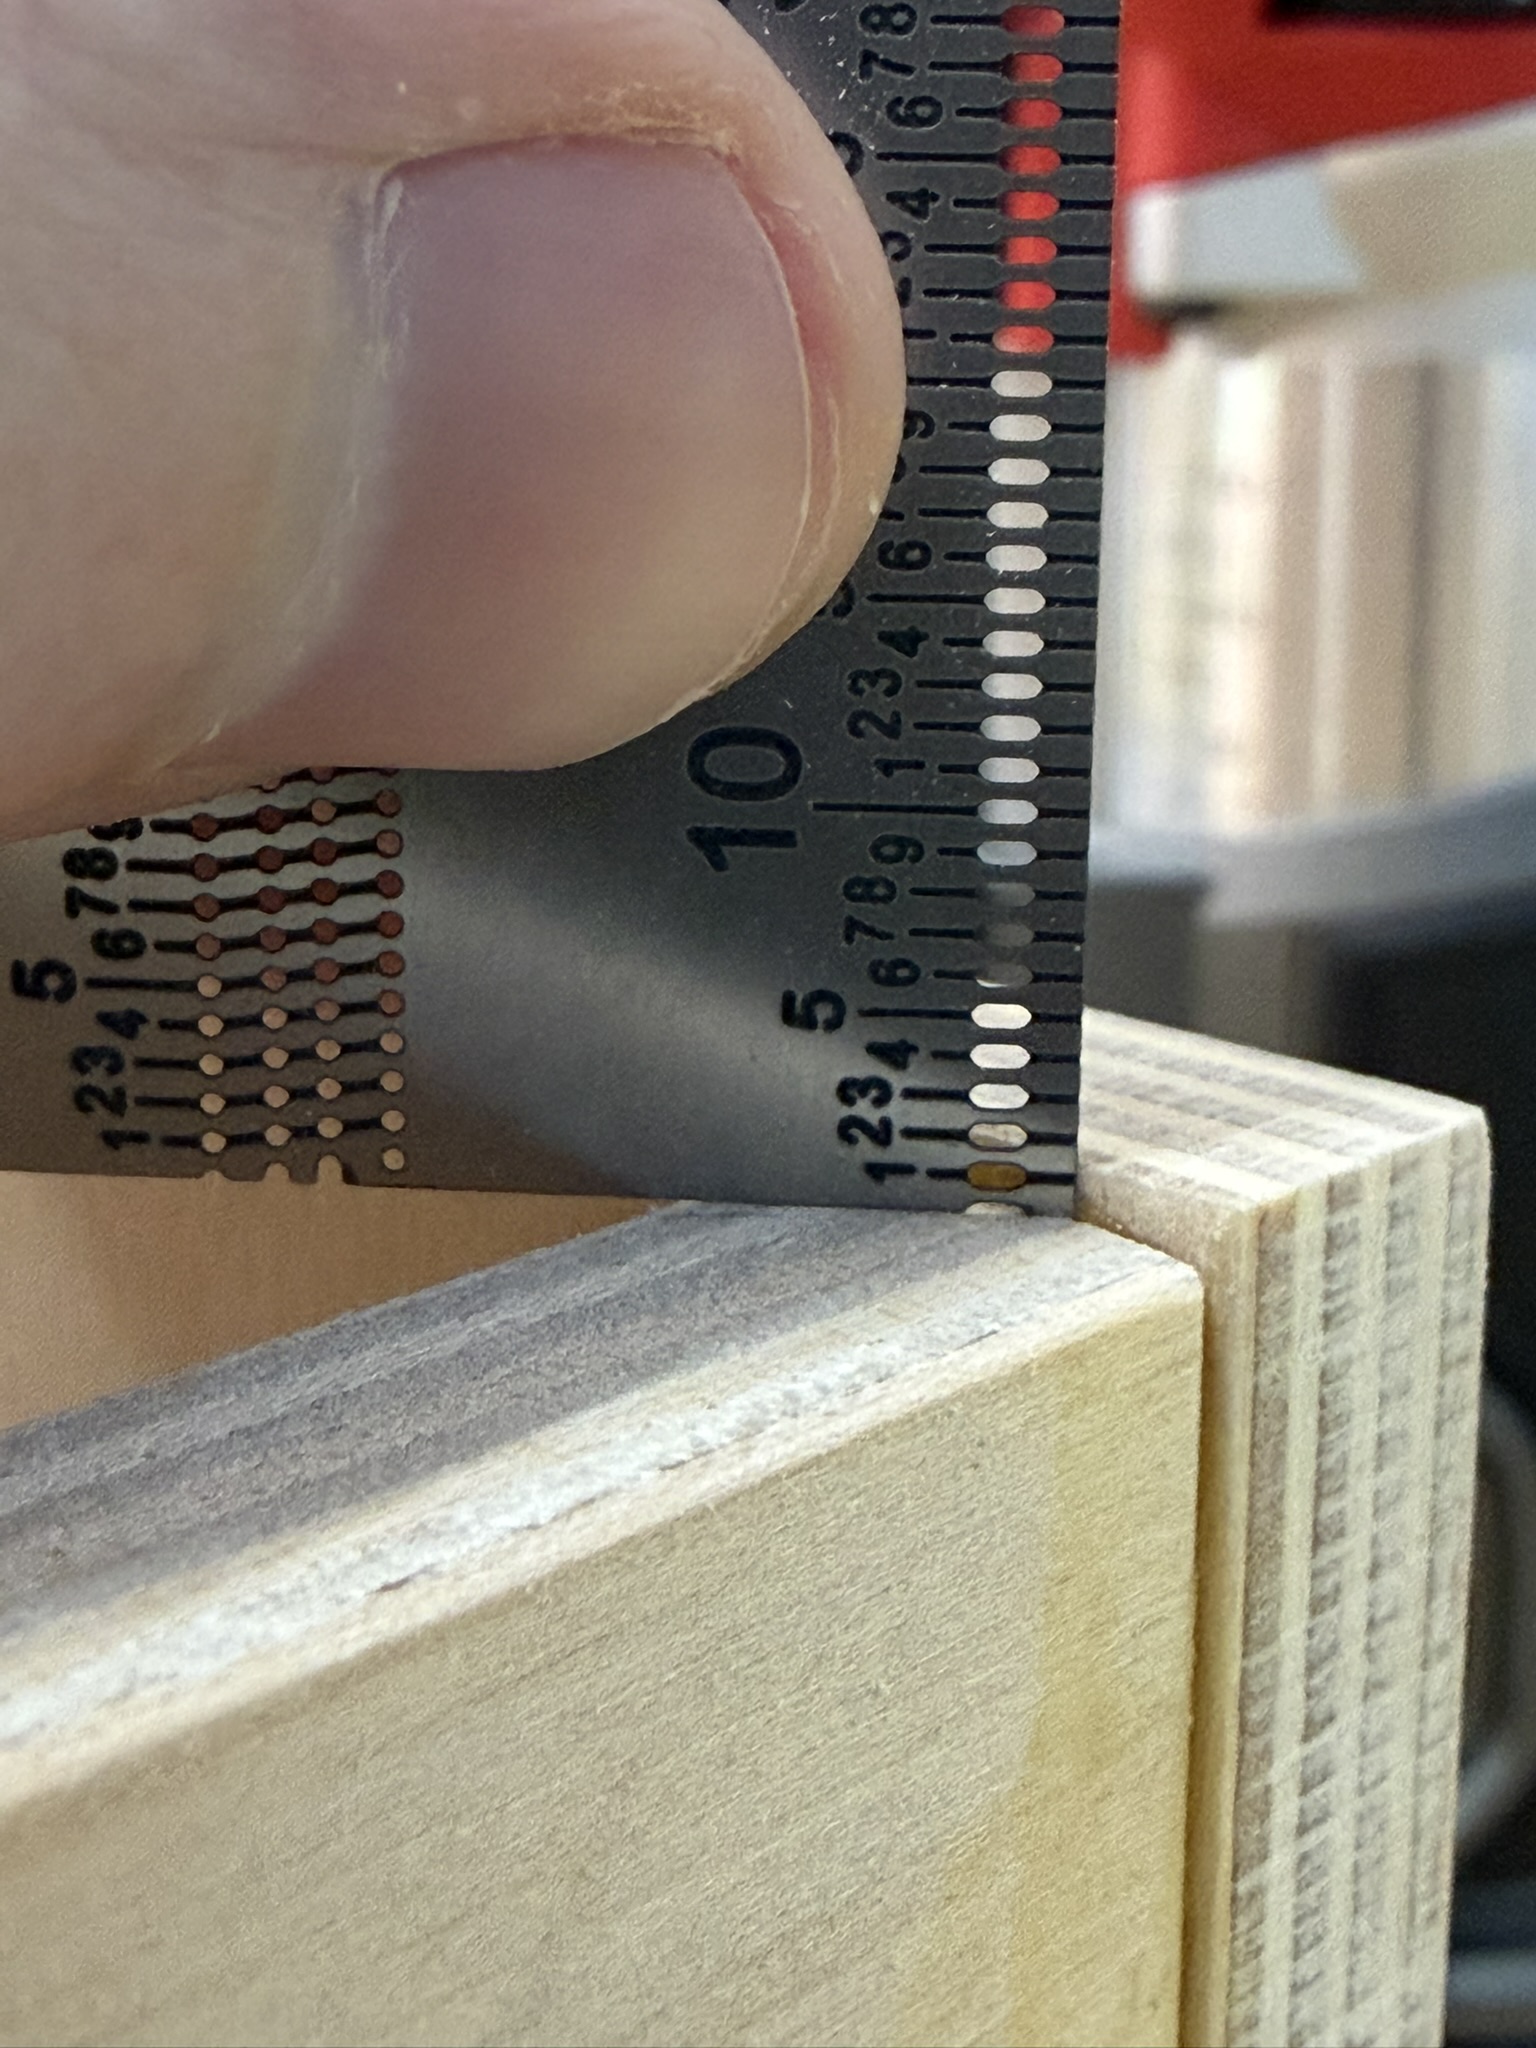 |
| But I have a little manual mill with enough Z travel for these little boxes. I milled them to the exact same height. | 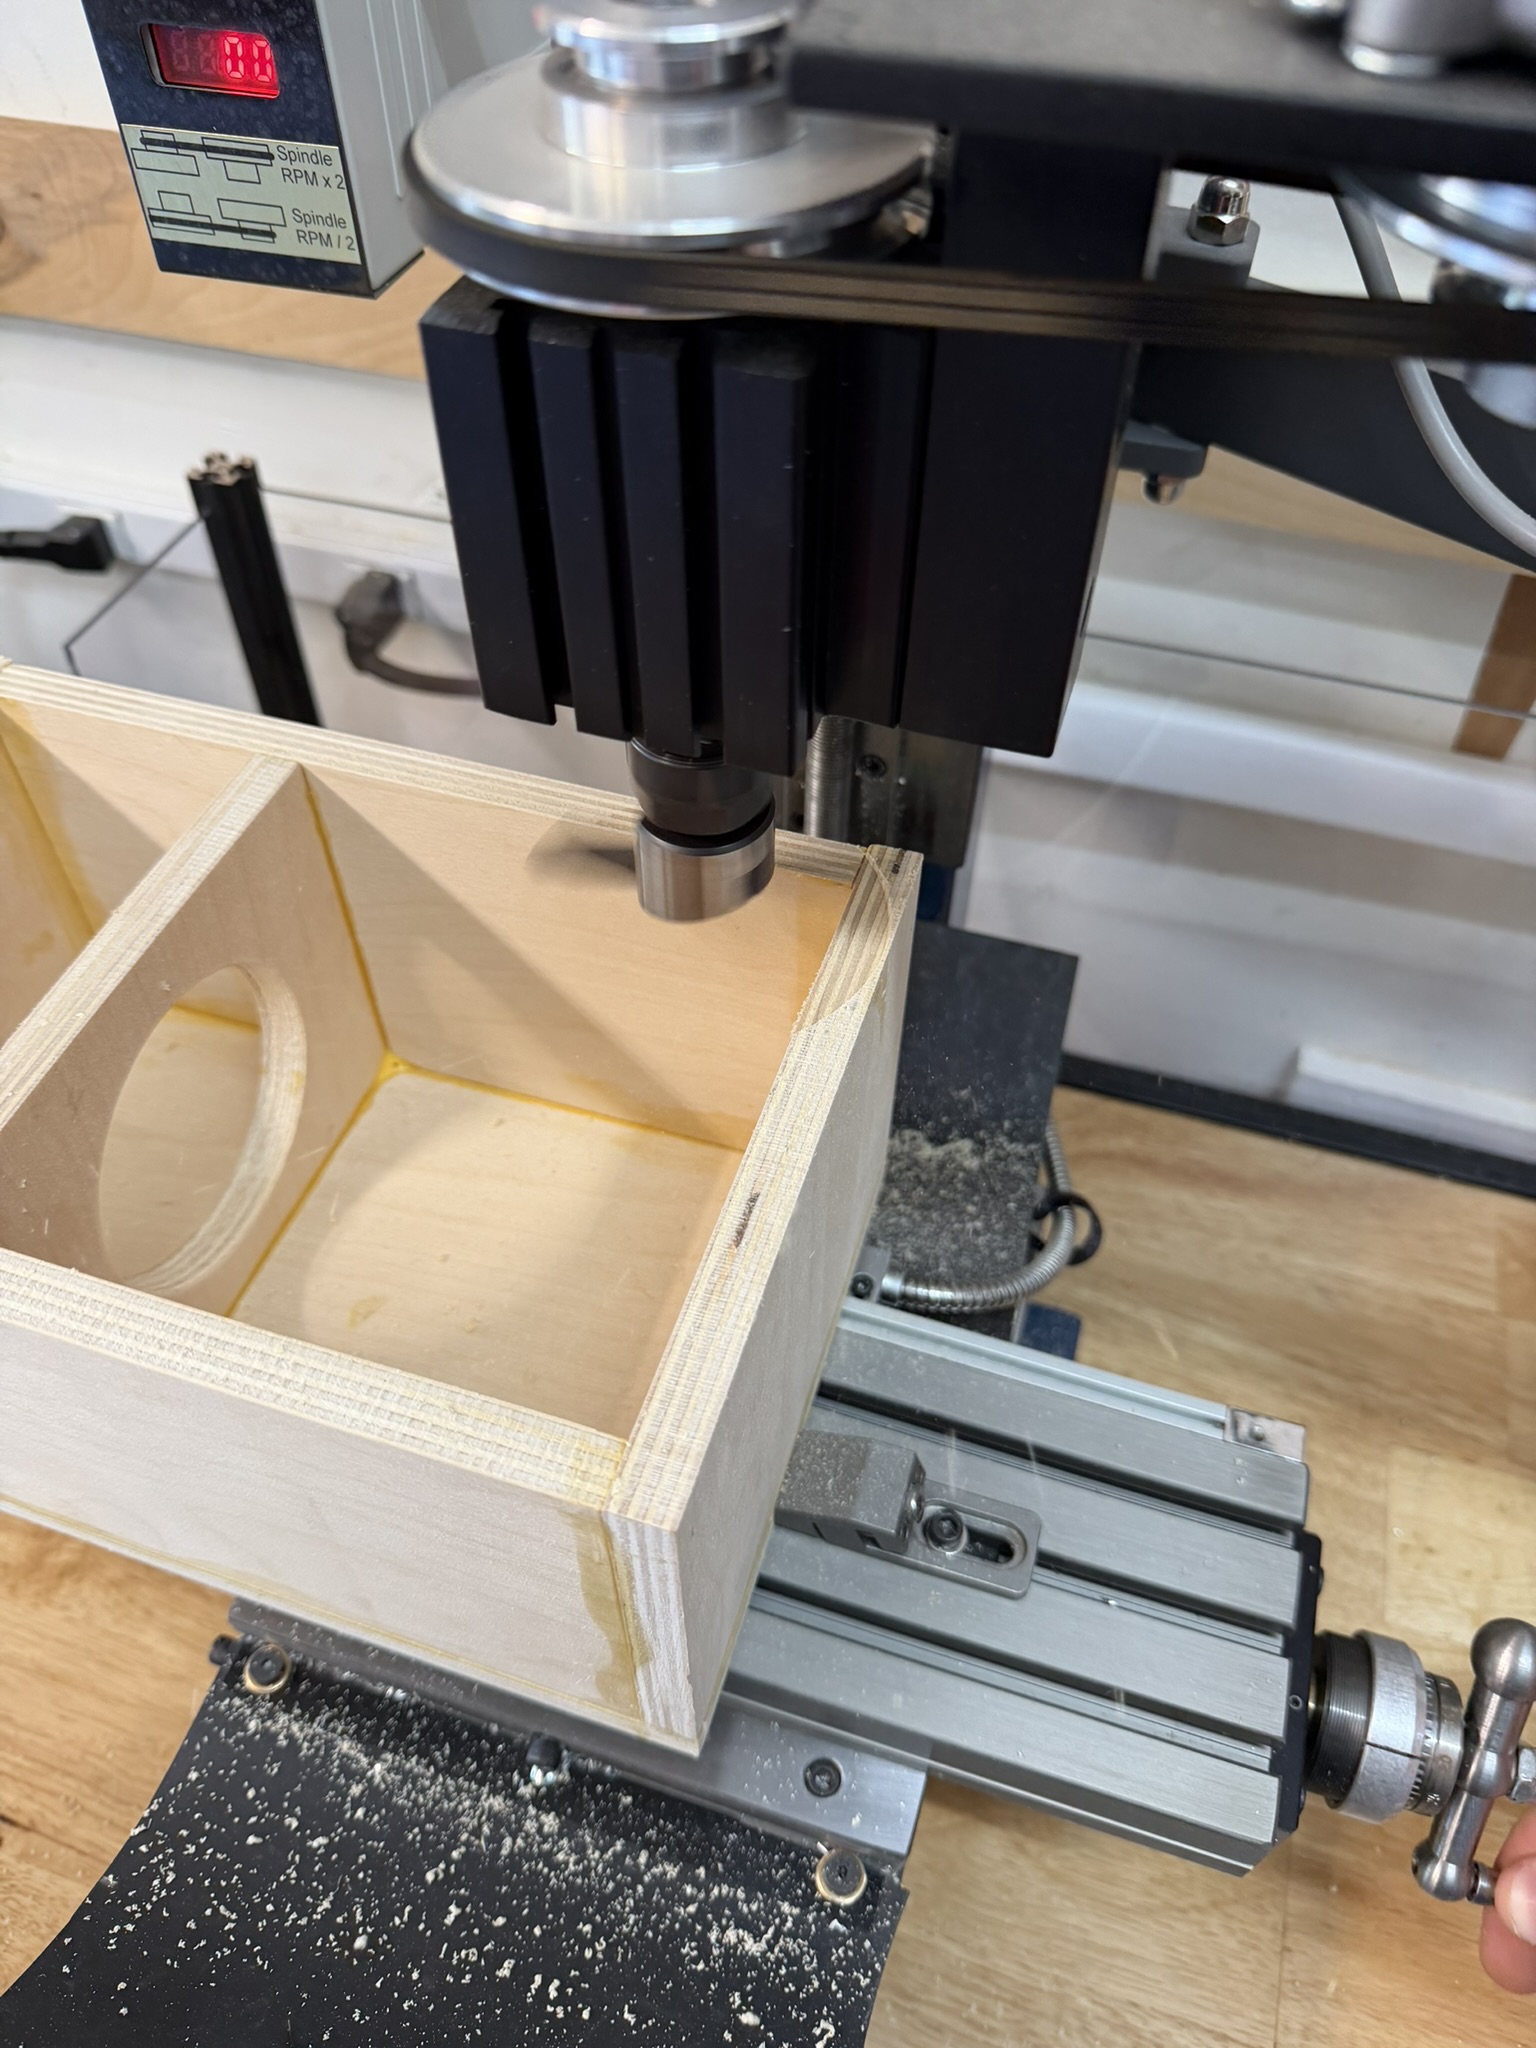 |
| And the misalignment on the mounting face was no more. (the outside edge pictured was the worst of all the misalignments and it easily sanded flat) | 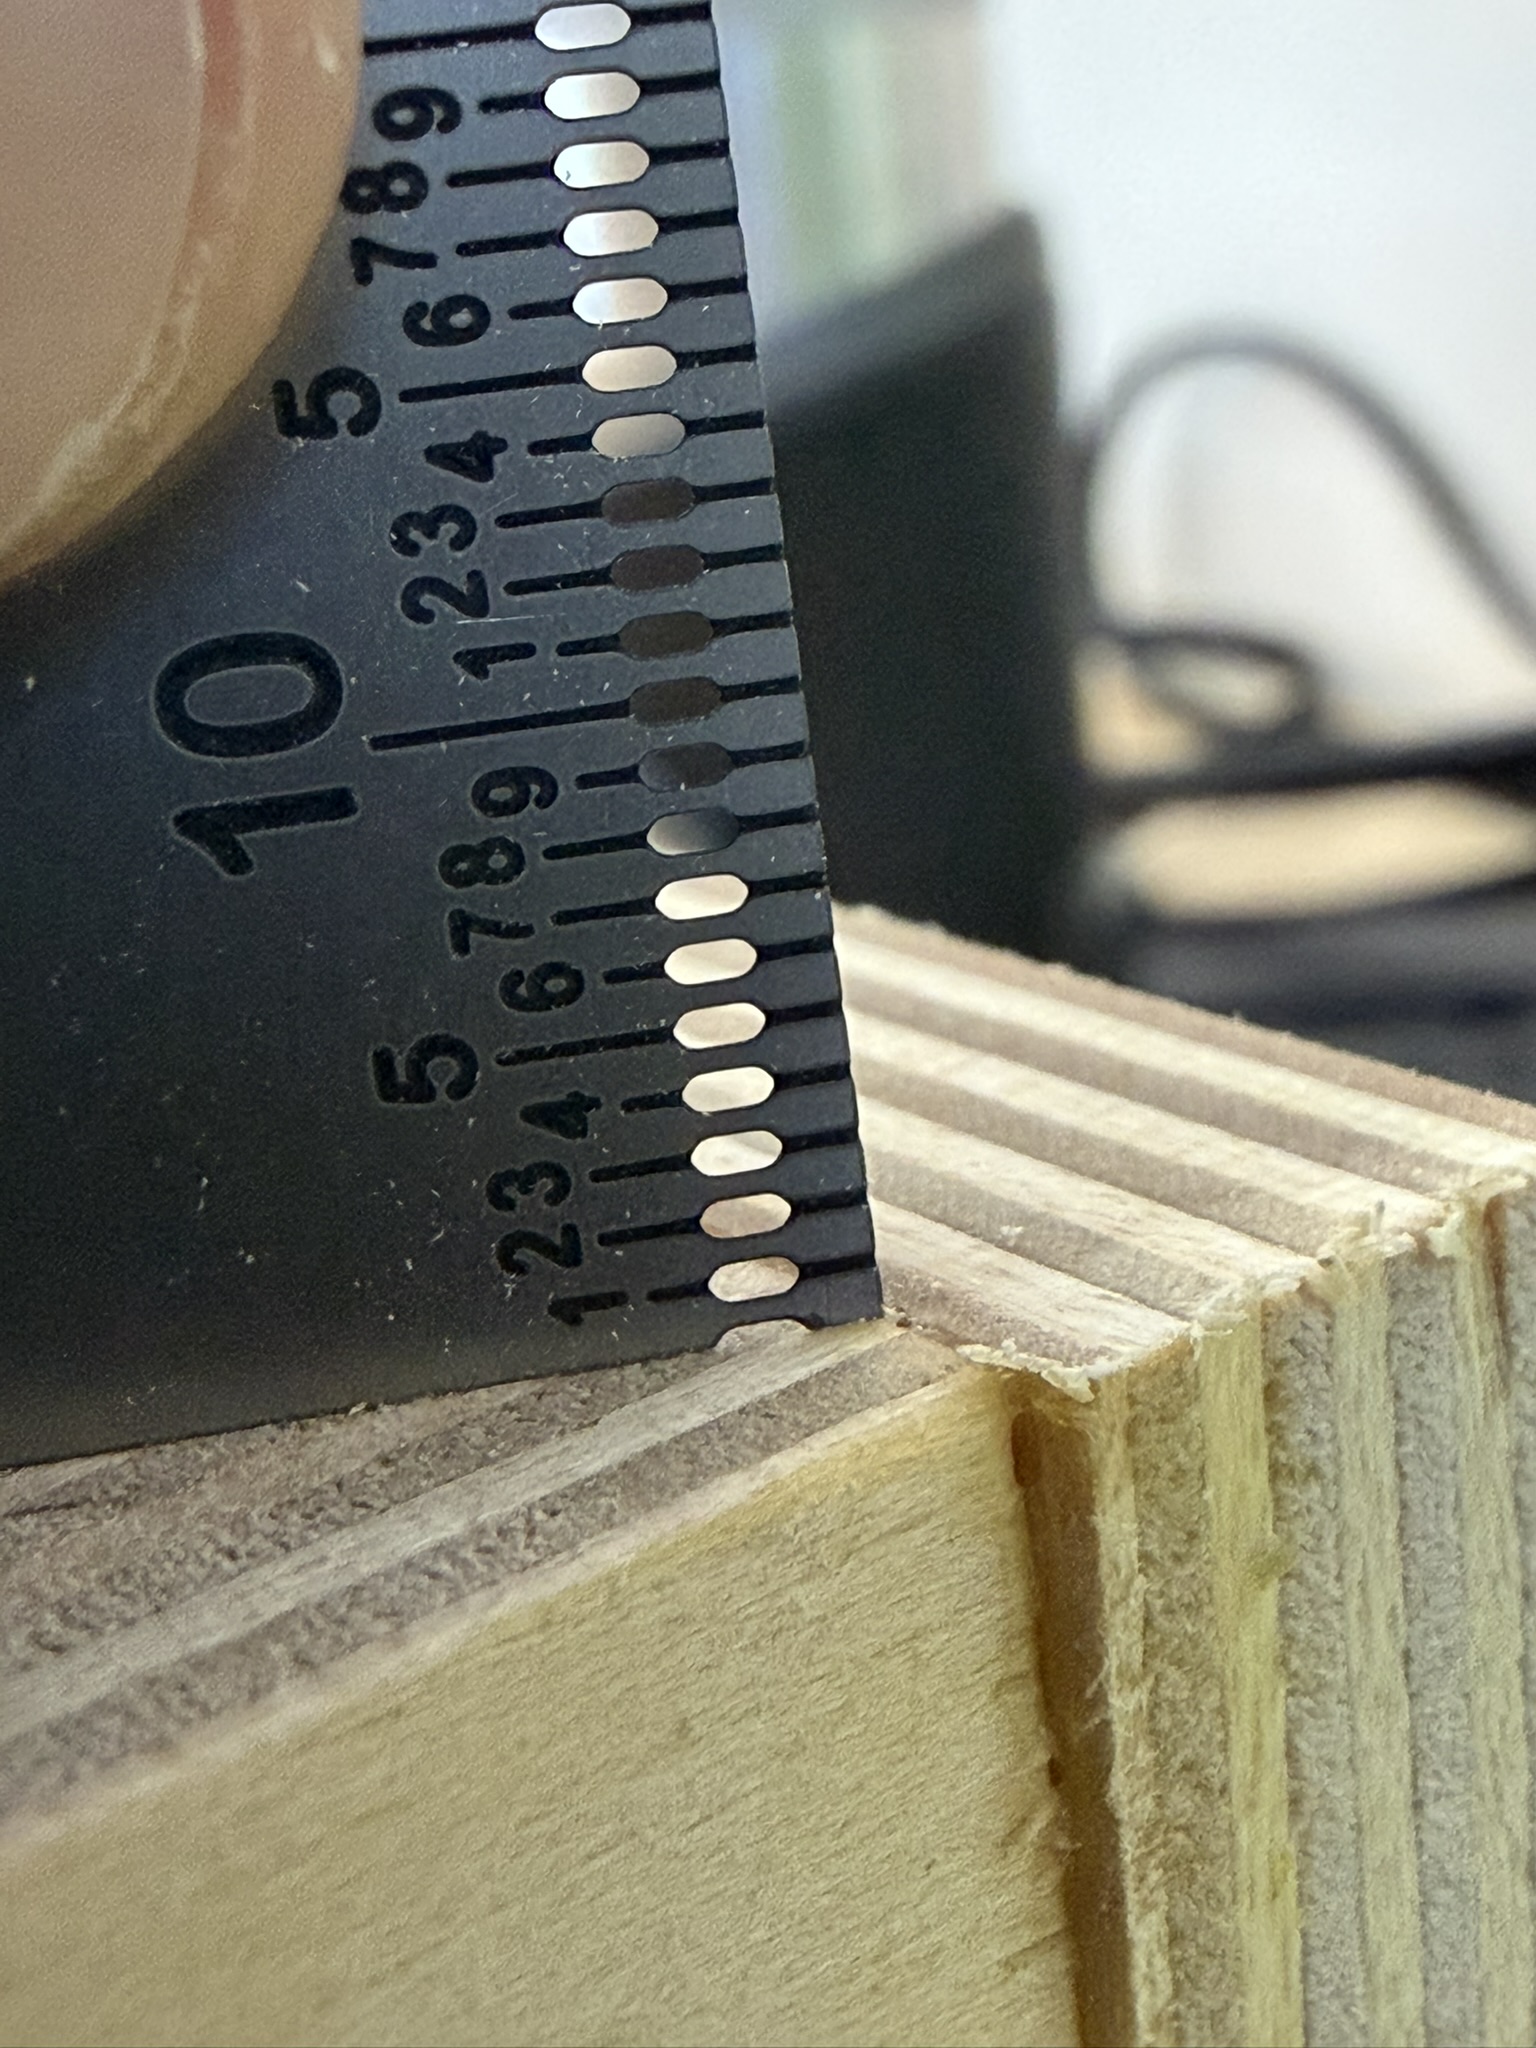 |
| With the wool felt cut and installed, it was time to affix the front and connect the speakers. | 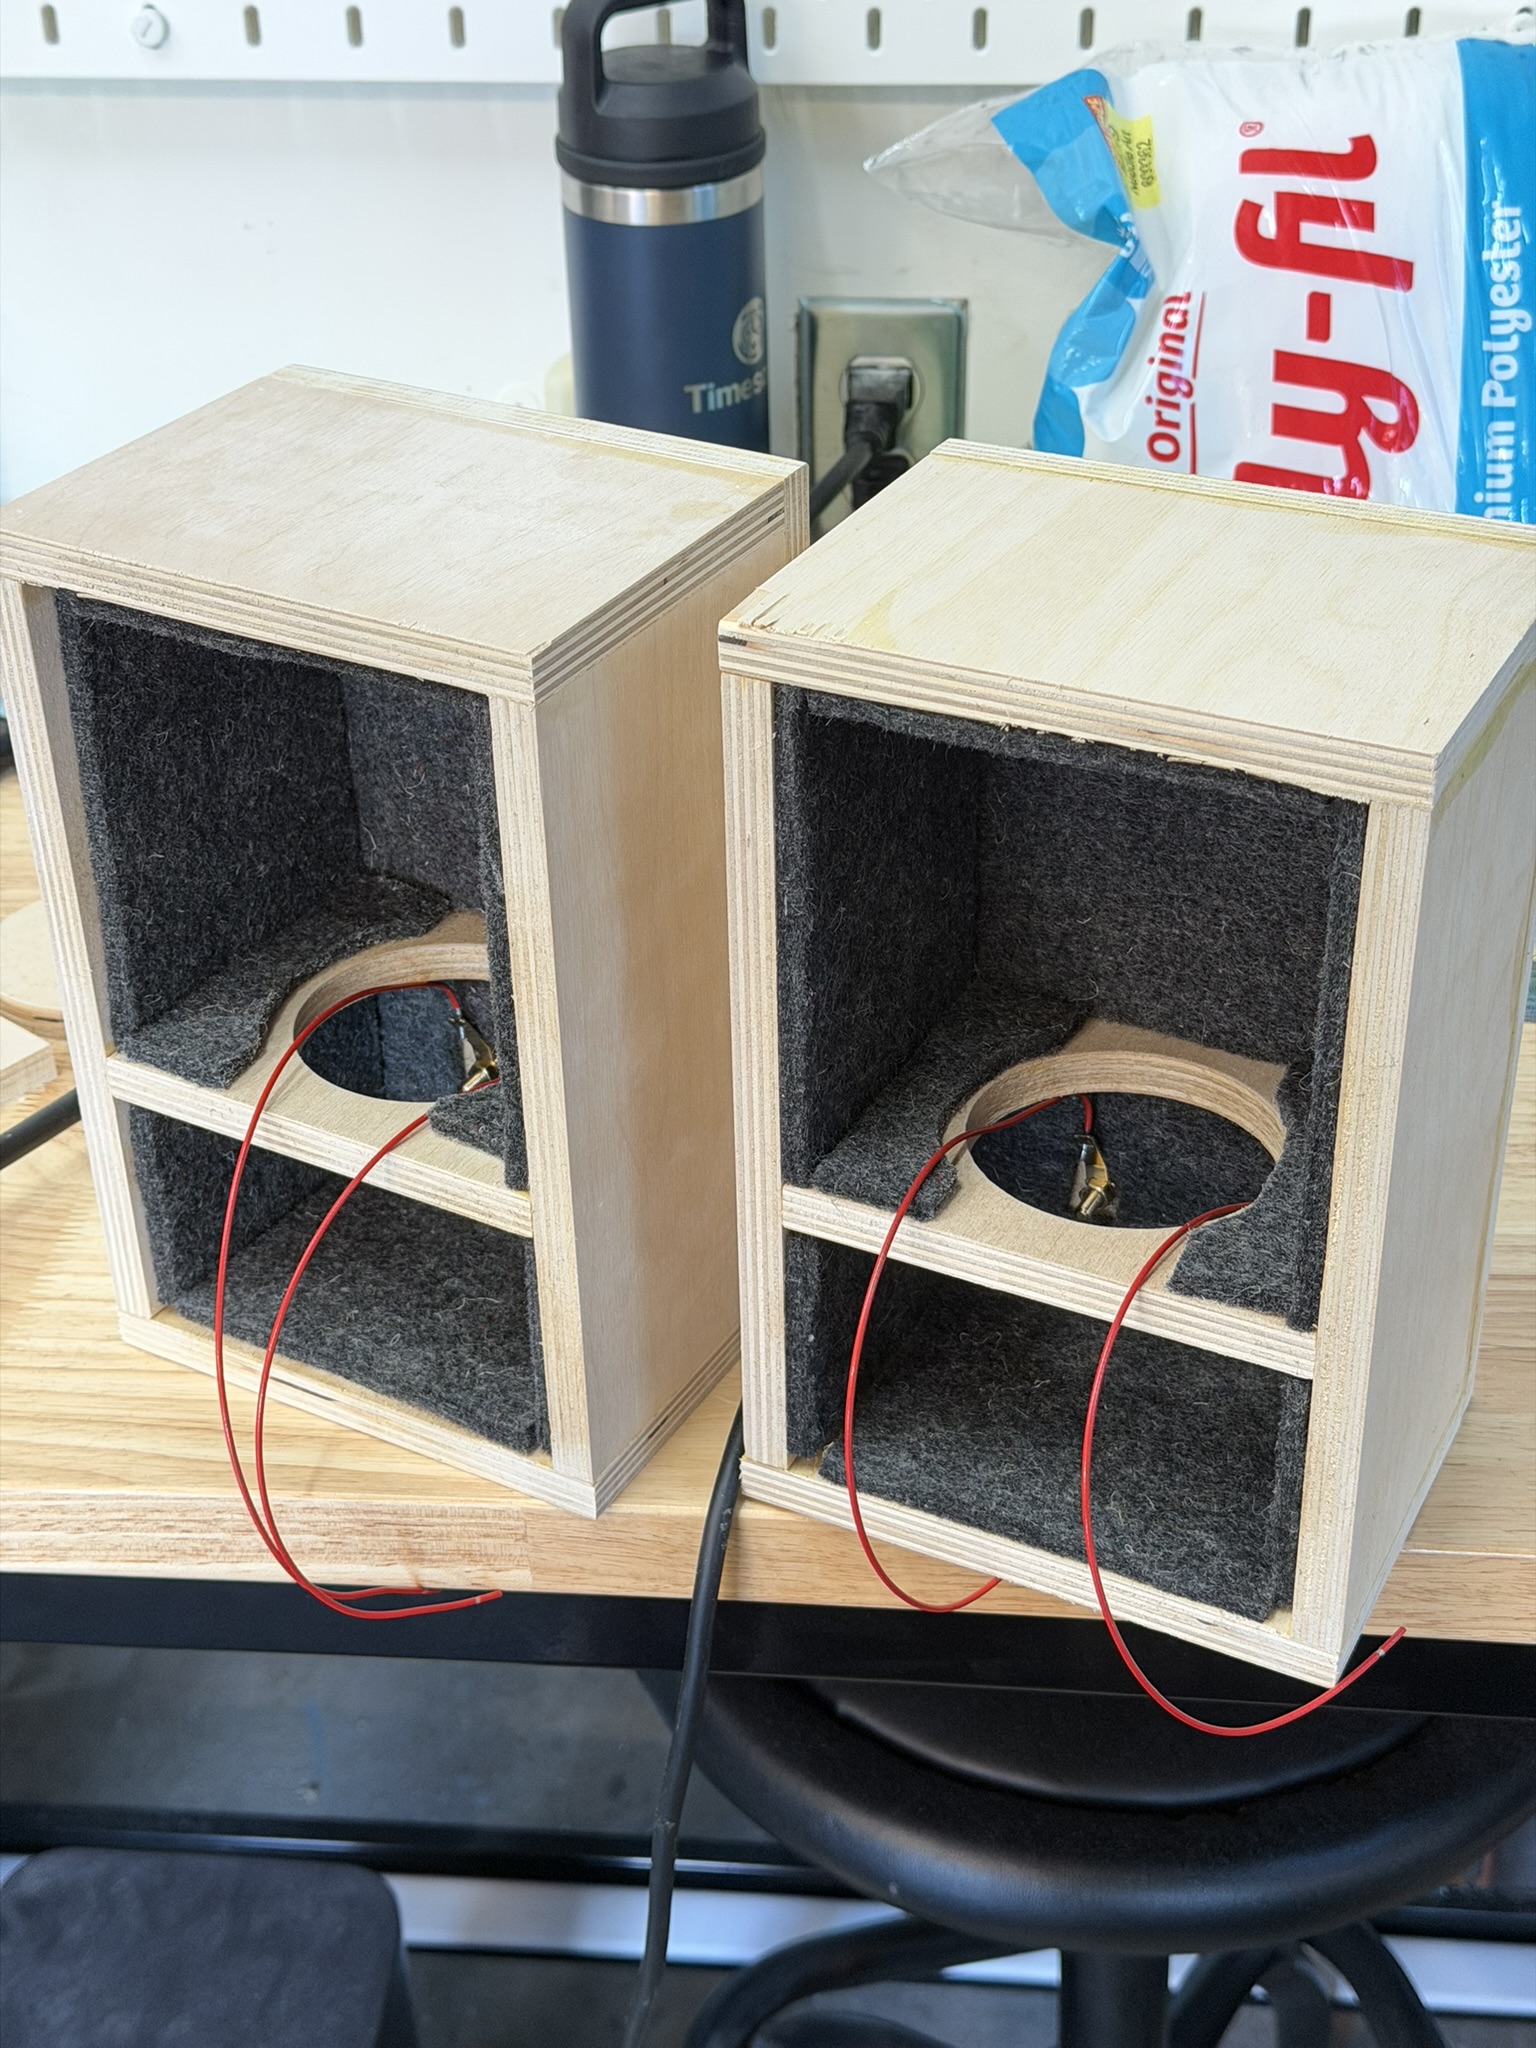 |
| A little soldering, and it was done. | 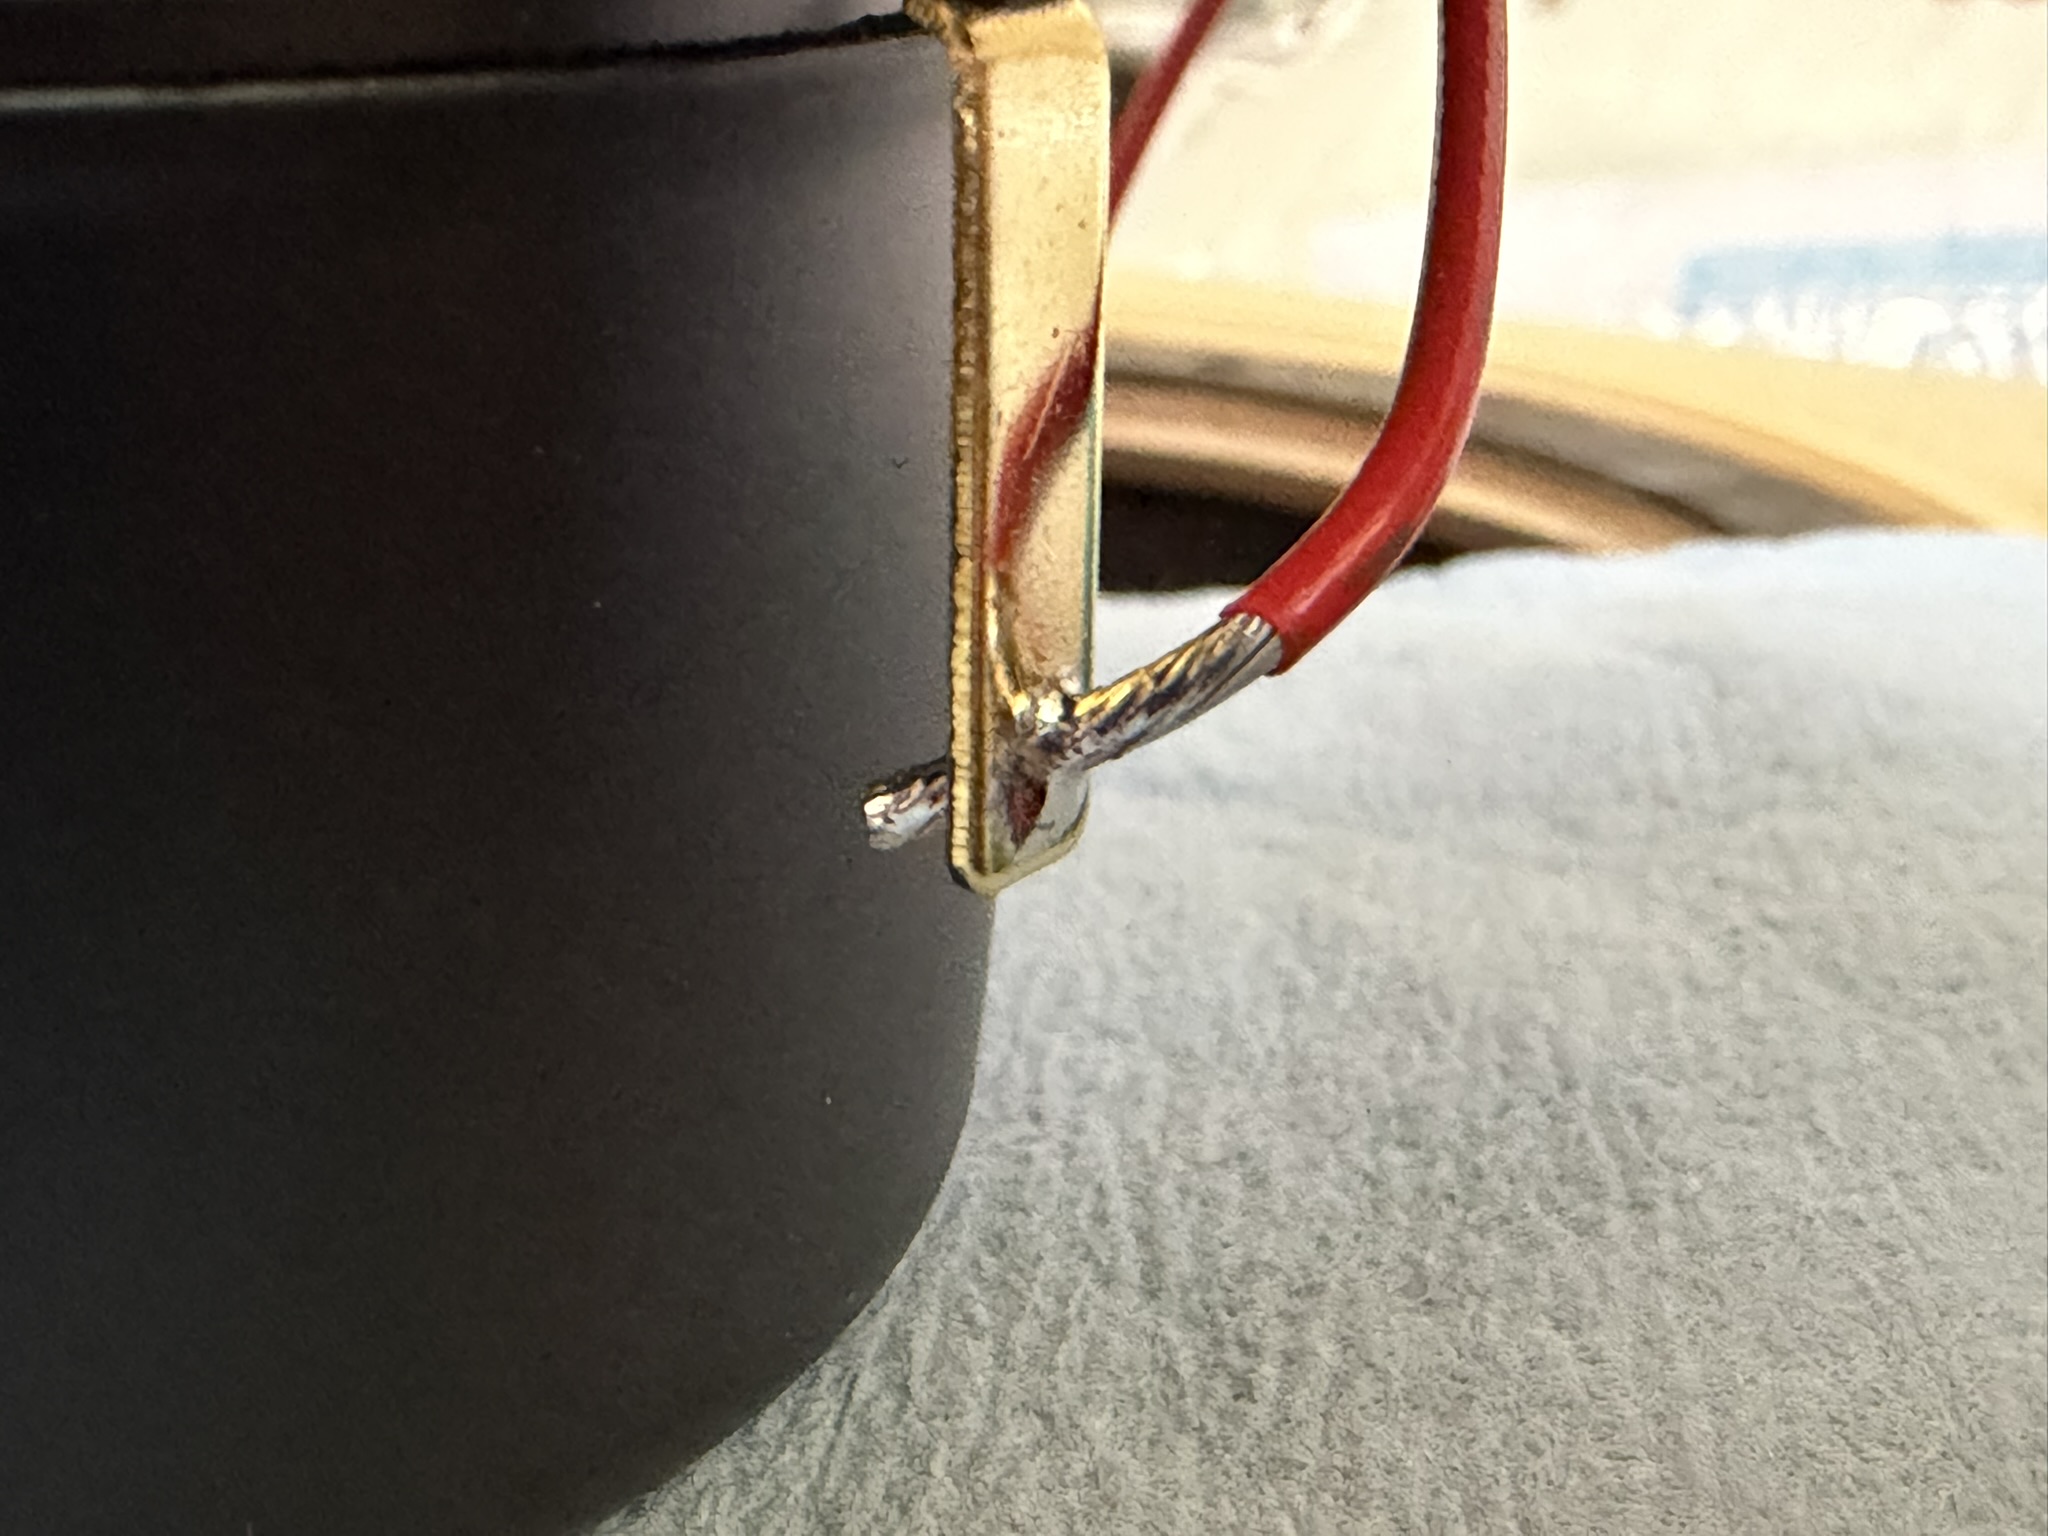 |
I finished with General Finishes High Performance Gloss, after filleting every outside edge, sanding, filleting again, and sanding again. It's the finest finish I've done, which is in all honesty saying very little. I already showed you the comparison picture at the top, in case you want to see them finished.
Making the speakers sound great
Here's where we started on the new speakers.
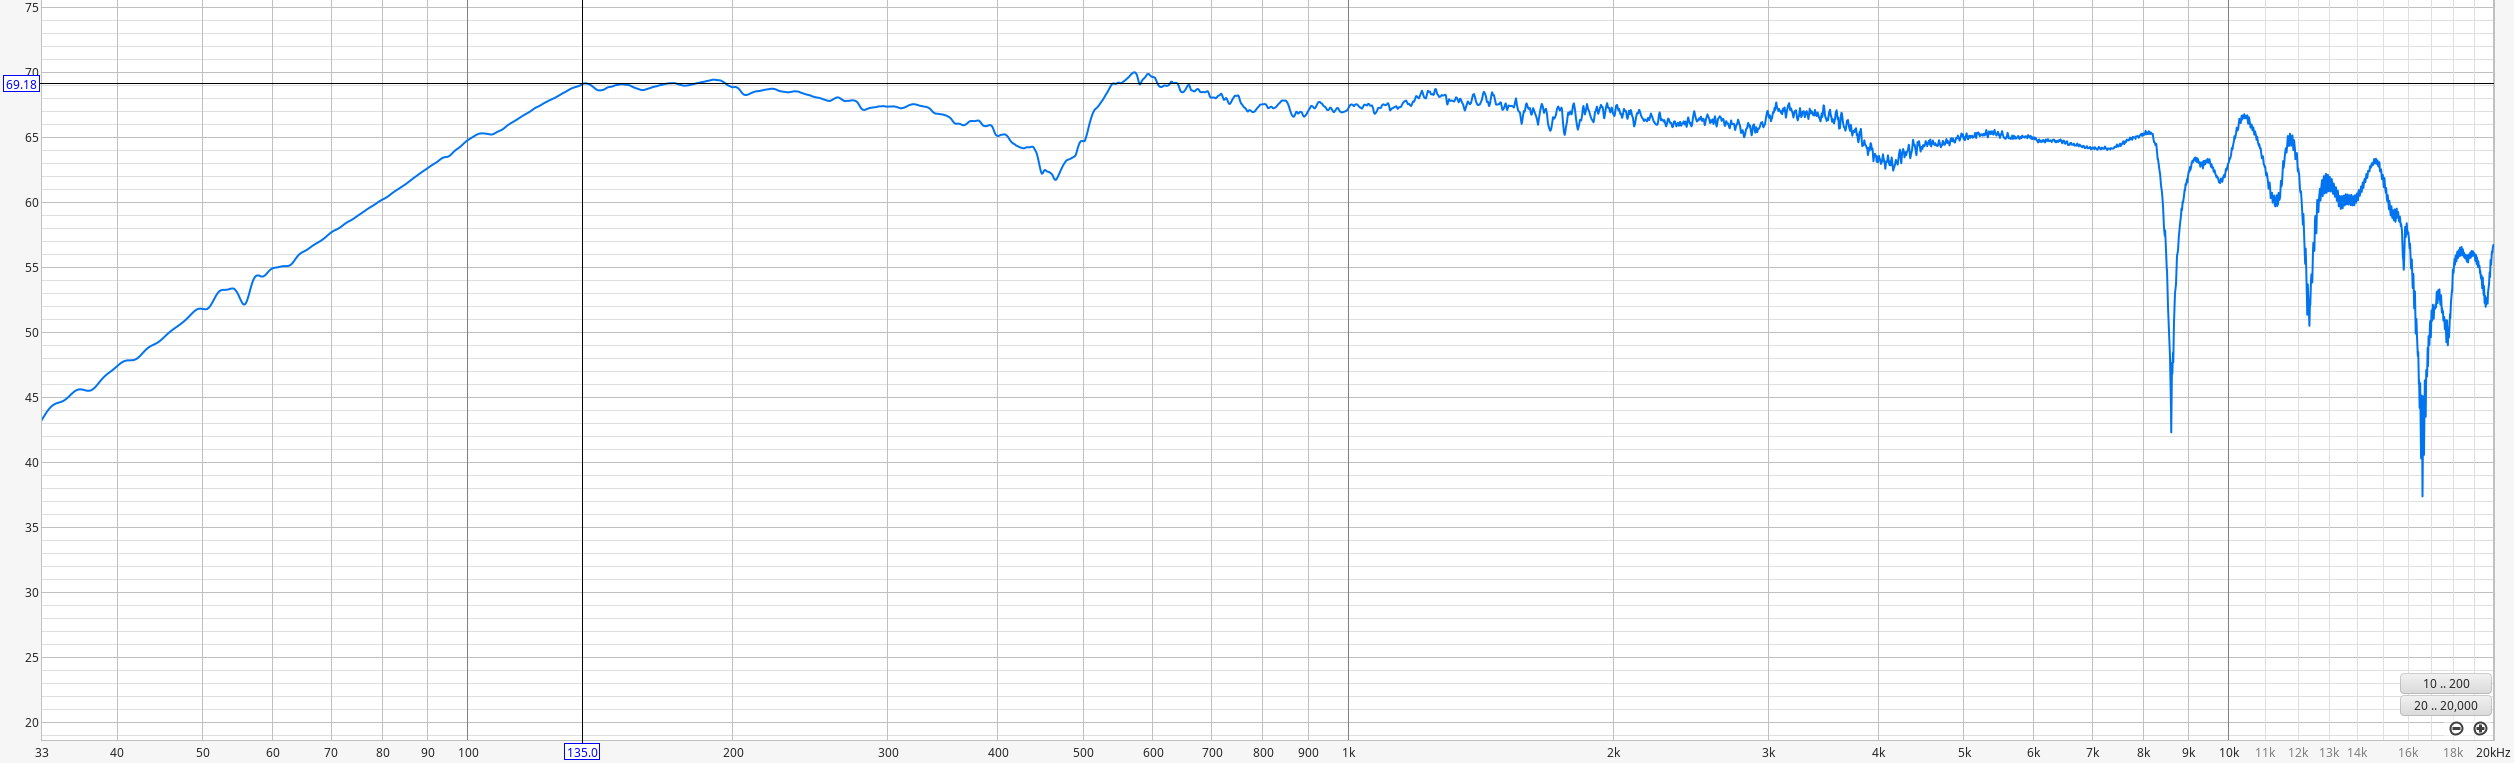
The Orcas are more sensitive, but you can see the box interacting with the output nonlinearly. They have sort of a futile gasp for extension at 90hz, and some sizable high frequency drop outs. They're pretty darned flat overall though from 230hz to 7khz.
The new speakers are pretty flat from 135hz to 8khz though, with a gentle roll down as frequency goes up; that's what I want. However, 135hz is not the extension I was targeting.
- This is the Orca's natural rolloff frequency again, 230hz.
- This is the new speakers' natural rolloff frequency, 135hz.
- This is the end of the flat response on my new little speakers with DSP (for now), 55hz. You might not be able to hear this.
DACCA, CamillaDSP, and sound maths
I named my raspberry pi DAC appliance a DACCA.
CamillaDSP is a crucial part of this whole project. I went into this planning to apply DSP to my new sealed speakers. The record player is where I'll go analog - this signal path is totally digital. There isn't even a potentiometer for volume. Just the OS volume control that puppets CamillaDSP.
There were 2 main things to address on these speakers:
- The cone on the Alpair 7ms is aluminum, and it has a resonance peak thing at 12-14khz.
- I wanted more extension than 135hz. I don't care that these are 3L boxes with 4 inch speakers, I have technology and low volume requirements.
The MiniDSP UMIK-1 and Room EQ Wizard (REW) made all of the tuning so straightforward. Together with CamillaDSP, the world has come so far since my early forays into this stuff around the time the World Trade Center was attacked.
High frequency resonance was easy to cut. It stuck out (literally) like a sore thumb at 12260hz. A peaking biquad filter with -8 gain at q4 in CamillaDSP flattened out the main complaint I've seen from people about the 7ms speakers.
Bass extension was done with a "Linkwitz transform." While I often see it described as an (elegant) analog circuit, my signal path is digital and CamillaDSP has implemented this signal transform. I ended up blindly reaching a tuning base frequency of 136hz, which is extremely close to the rolloff I observed at 135hz, and an actual Q of 1.3. These Alpair 7ms moves pretty freely without a spider, is my best guess as to why the Q is so high. Anyway, check it out:
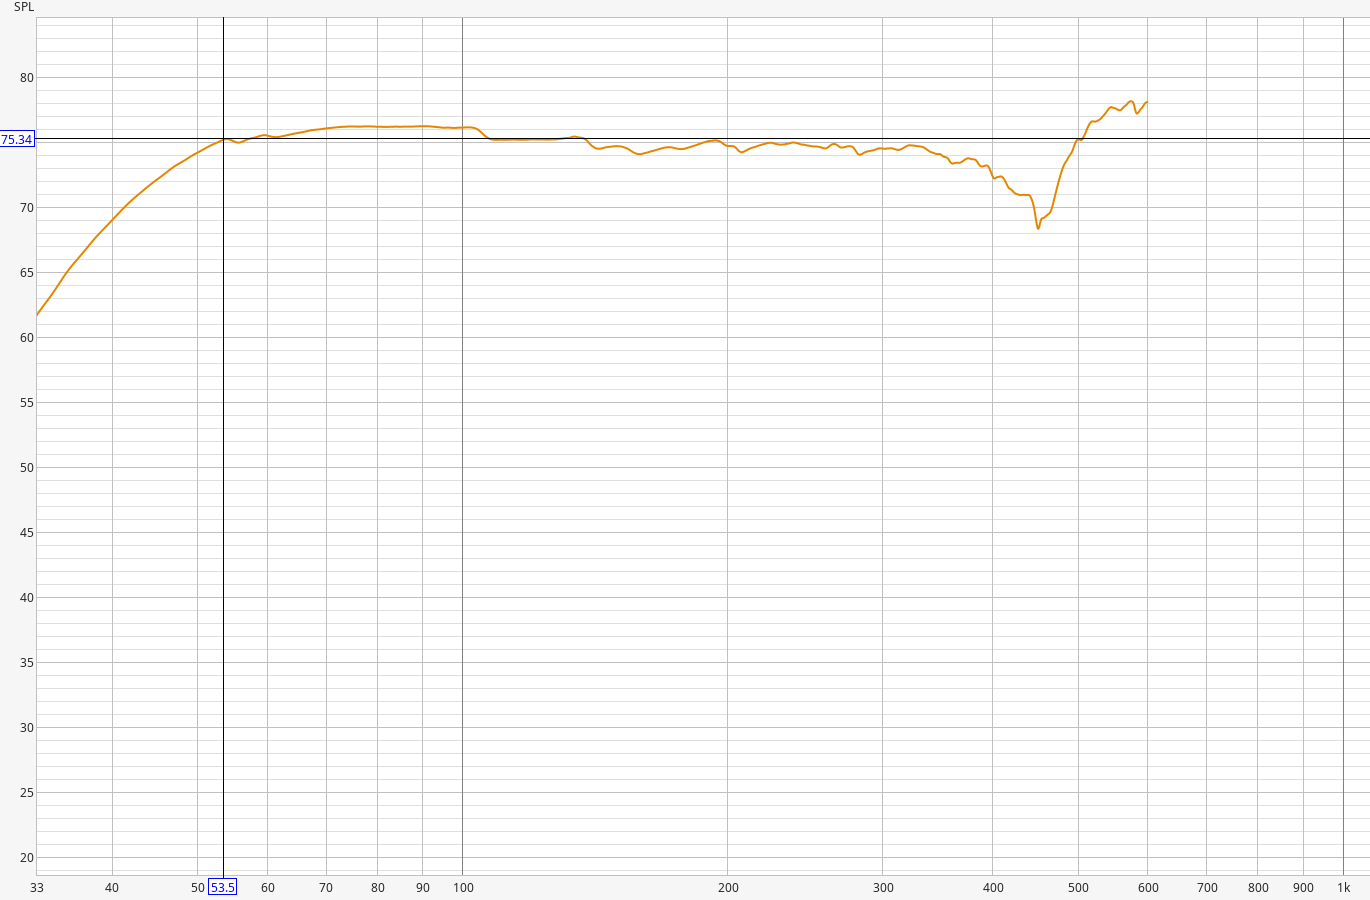
Just focusing on the low frequency range, you can see how maths have taken this 135hz rolloff and moved it back to around 55hz. "What devilry is this?" I asked myself not, for I knew this came at the cost of a -20db gain filter in CamillaDSP to prevent over-unity (clipping) DSP output. Remember, my volume needs are not high.
I'm limited here not by the speaker or by the transform, but by my 2 watt per channel amplifier. I've got a 10 watt per channel amplifier on order, which may let me move from a 50hz target to 40hz. We'll see in a few weeks.
Even with only 2 watts per channel, this is loud enough at my desk. The full range is incredible from just a pair of 4" sealed speakers. I'm looking forward to trying with 10w anyway.
I added a highpass filter to avoid wasting amp power on super low frequencies. Using REW, I found a couple small biquad filters to cut peaks from room resonance, and I called it good. This is easily the best my desk has ever sounded.
Making it fancy
I went through several revisions of magic strings here and there to make all 3 OS's pass volume control to DACCA. It was interesting to see the implicit naming contracts everybody kind of adheres to.
The forbidden CamillaDSP patch
(okay, melodrama, but it made me laugh and it's my post)
I made CamillaDSP able to handle multiple device pipelines in the yml configuration, so I could pass my microphone back through DACCA without having a second piece of software vying for resources. I had tried first with alsaloop but it was cutting out and buffer overruns happened no matter what my buffers were set to (even stupid buffers, like 500ms-2000ms). This change wasn't approved for CamillaDSP, but I've kept it and continue to use it; the microphone return and audio output work so smoothly through a bidirectional CamillaDSP instance that I will just maintain this patch. I've since also submitted some accepted cohesion and cleanup pr's to CamillaDSP that I expect will make maintaining this patch even easier for me!
Vanity USB name, dkms, DACCA
I wanted the DSP to be an audio device that looks like an intentional piece of hardware on all 3 OS's. However, MacOS reads stream names from STR_AS_IN/OUT_ALT0/1 symbols, which are hardcoded in the Linux kernel to "Playback Inactive/Active" and "Capture Inactive/Active". I wanted it to say "DACCA" for input and output. So I wrote a dkms module that patches those hardcoded strings to the hardcodes I want. Sure, that's a big hammer, but it works great for an appliance! And anyway, dkms is amazing.
Hey siri, switch to headphones
I wrote a little http server with simple bindings for changing outputs between speakers and headphones. I then taught my voice assistant how to call them. So I just say into my watch "switch to headphones" and it does. The http server just calls into CamillaDSP's web socket with the config path for headphones, or for speakers if I'm switching to speakers. The DSP settings for my headphones are completely different (they don't need any signal processing).
When DACCA starts, it sets itself to a moderate volume. When it switches inputs, it resets to a moderate volume. I made the http server notify the OS on volume change so Windows, MacOS, and CachyOS all keep their volume sliders in sync with the actual volume setting.
2026-06-28